Requirements and preparation
To follow the steps in this guide, you should already be able to establish a single OpenVPN connection in the terminal as explained in the guide "OpenVPN in Linux Terminal".
Download OpenVPN profiles
If you have not already downloaded the OpenVPN configurations, as explained in the guide on setting up a single OpenVPN connection, you may download the OpenVPN configuration files here using the button. To download the configuration files in the terminal instead, in the /etc/openvpn/ directory use the following command: sudo wget --content-disposition https://www.perfect-privacy.com/downloads/openvpn/get?system=linux and to unpack the archive in the /etc/openvpn/ directory: sudo unzip -j linux_op24_udp_v4_AES256GCM_AU_in_ci.zip
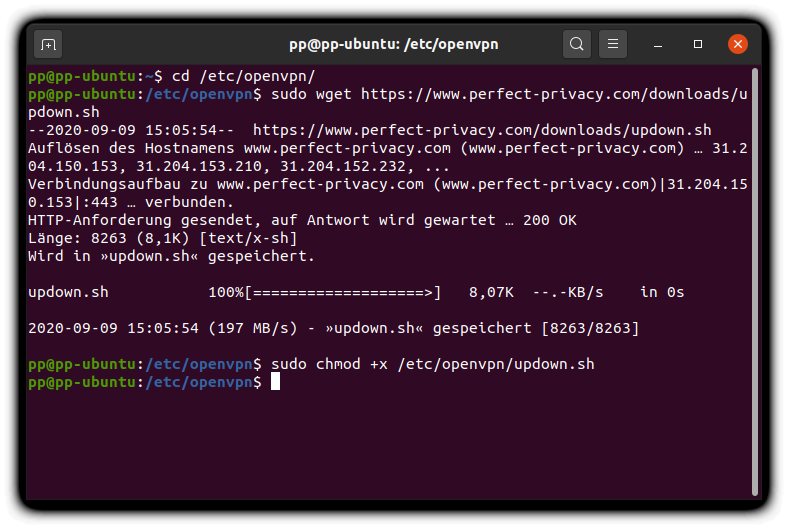
Download View alternate downloadsAlternatively you can download the script here using the browser, save the file as updown.sh in your /etc/openvpn/ directory (requires root privileges, copy for example like sudo cp ~/Downloads/updown.sh /etc/openvpn/updown.sh) and then make it executable with sudo chmod +x /etc/openvpn/updown.sh.
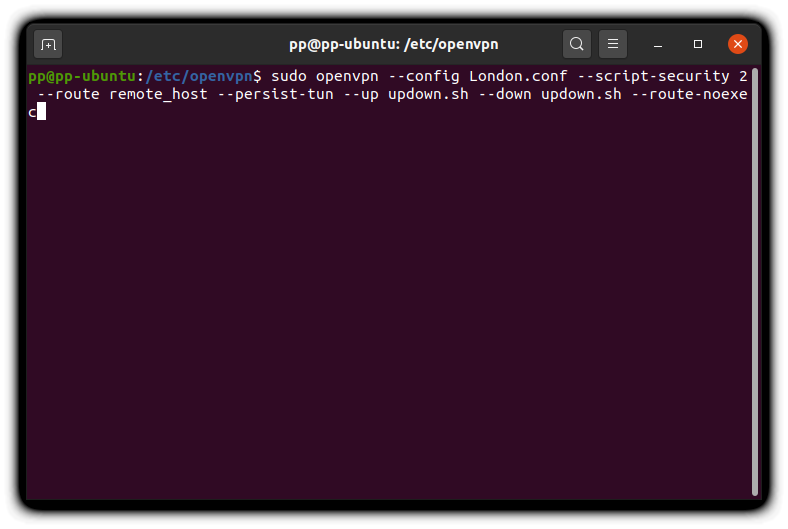
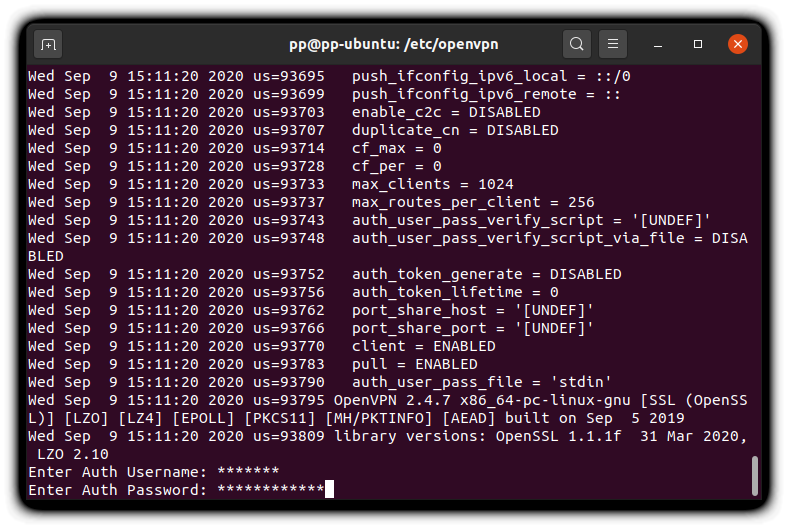
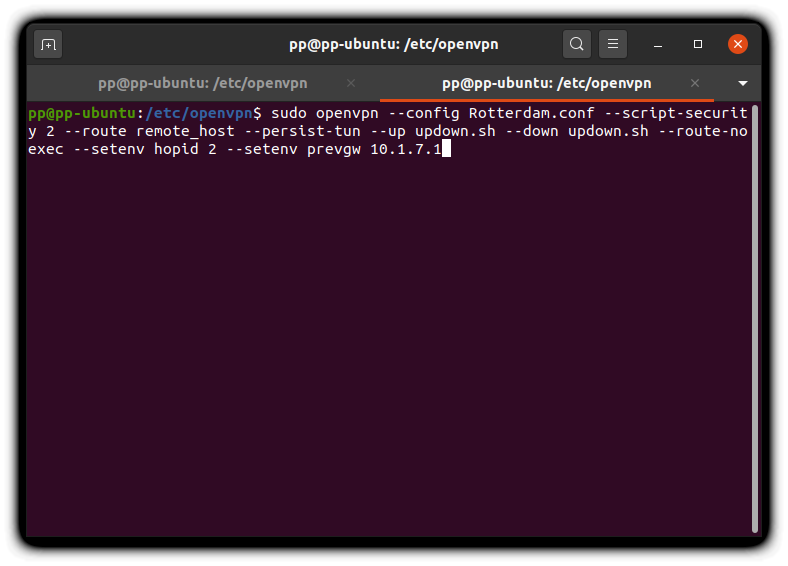
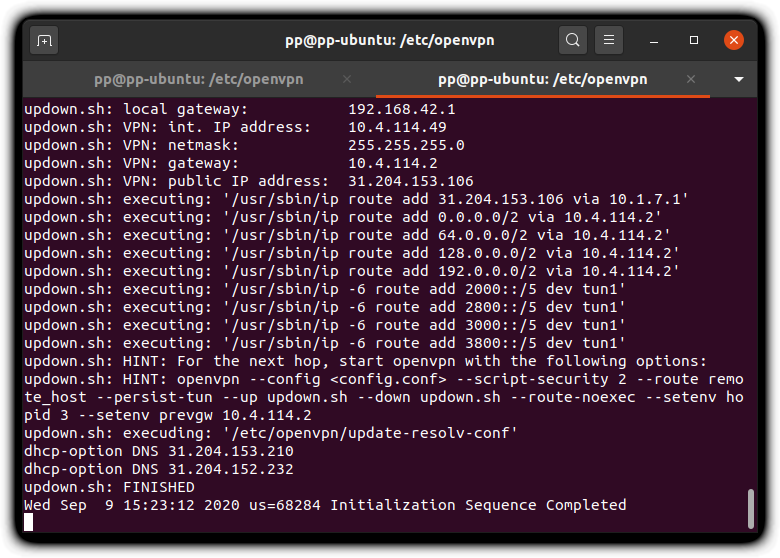
sudo openvpn --config London.conf --script-security 2 --route remote_host --persist-tun --up updown.sh --down updown.sh --route-noexec
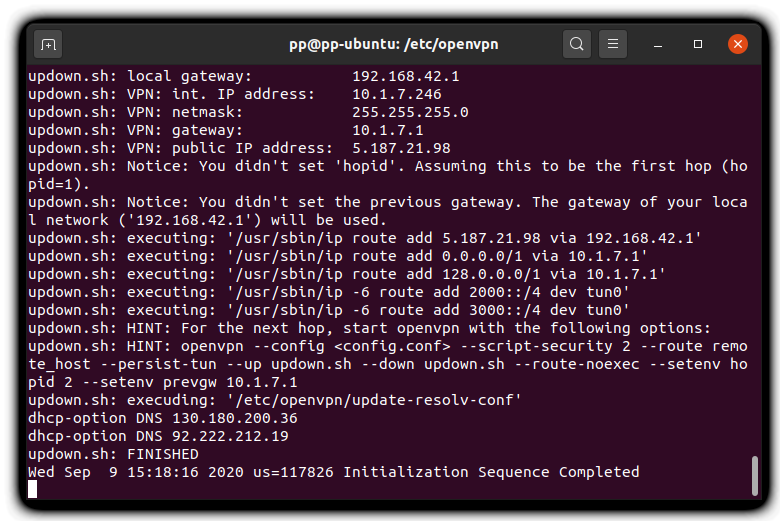
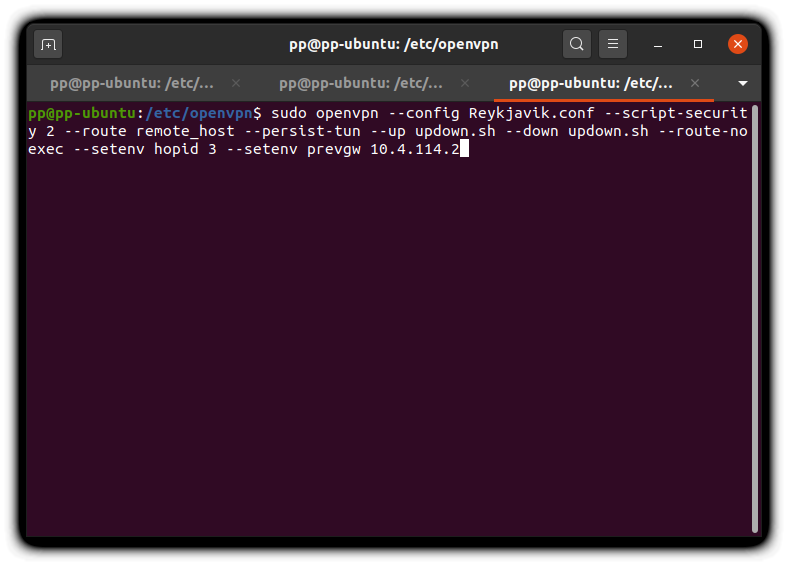
In this example we’re continuing the cascade with reykjavik.perfect-privacy.com, so the configuration file Reykjavik.conf is used. If you want, you can add even more hops by repeating the "Adding a hop" step once more.
You can use our Check IP test also in the terminal to verify that the OpenVPN connection was established and is working correctly:
wget -q -O - https://checkip.perfect-privacy.com/csv

Questions?
If you have any questions, comments or other feedback regarding this tutorial, please use the corresponding thread in our community forums.
