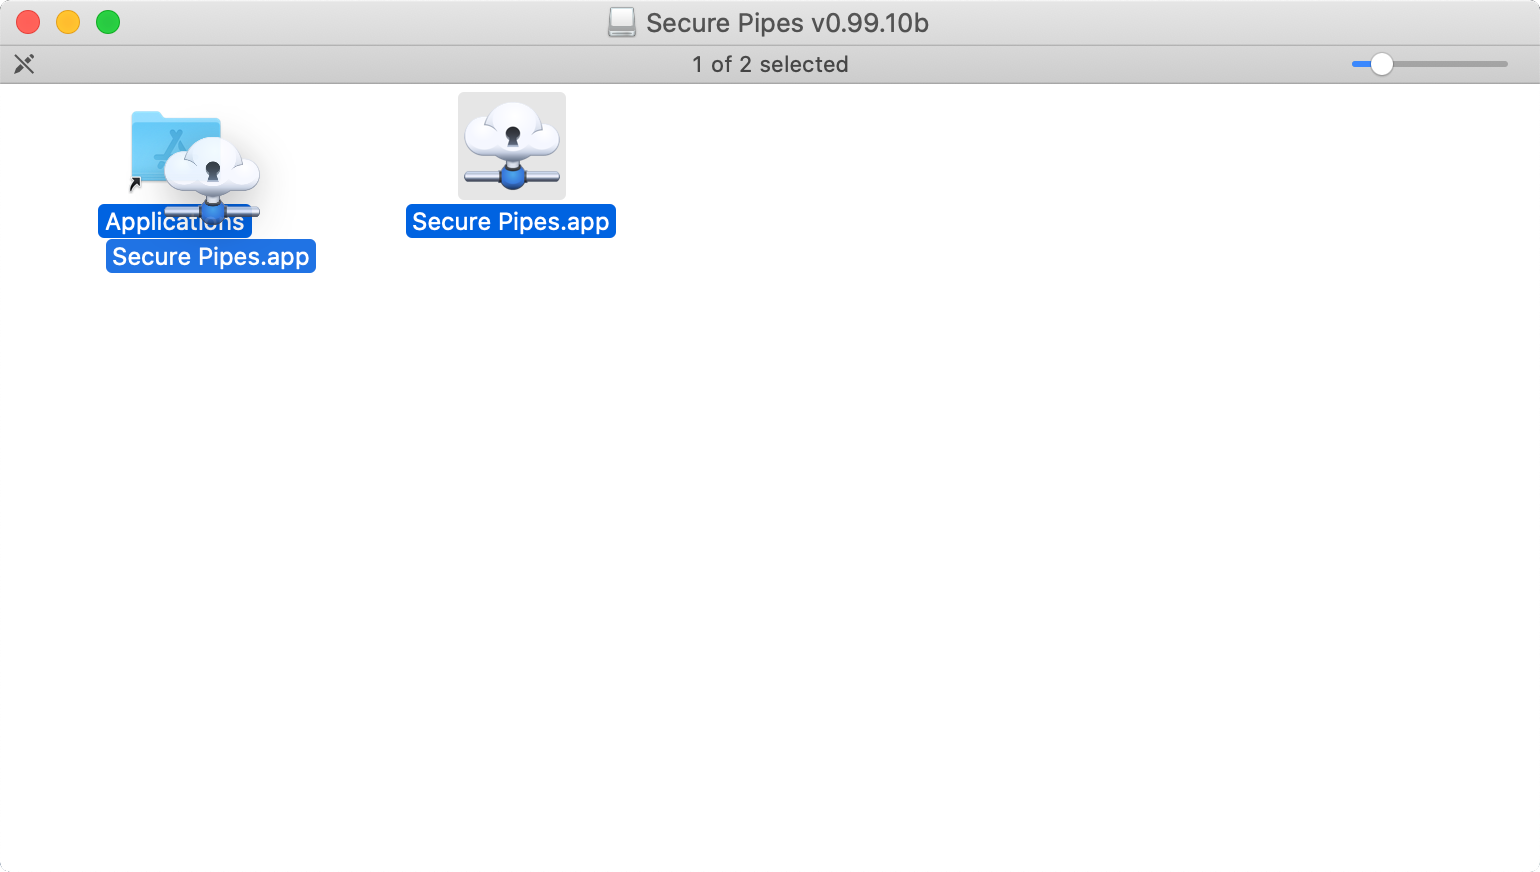
Install Secure Pipes
To install Secure Pipes, open the downloaded DMG file and drag/copy the included Secure Pipes.app file into the Applications directory. The disk image can now be closed and ejected (CTRL + Klick -> Eject..., or drag it from the Desktop into the trash), afterwards the downloaded DMG file can also be deleted.
Because the app is not signed by Apple, a warning is displayed when you try to start it. Choose the button Show in Finder and from there open the app again using CTRL + click -> Open. This time the warning offers the Open button to start the app, which is visible only as a small cloud icon in the menu bar. After the app has been started like this once it can be started the usual way with just one click. Click on the cloud icon and in the appearing menu choose Preferences.
Set up an encrypted HTTP proxy
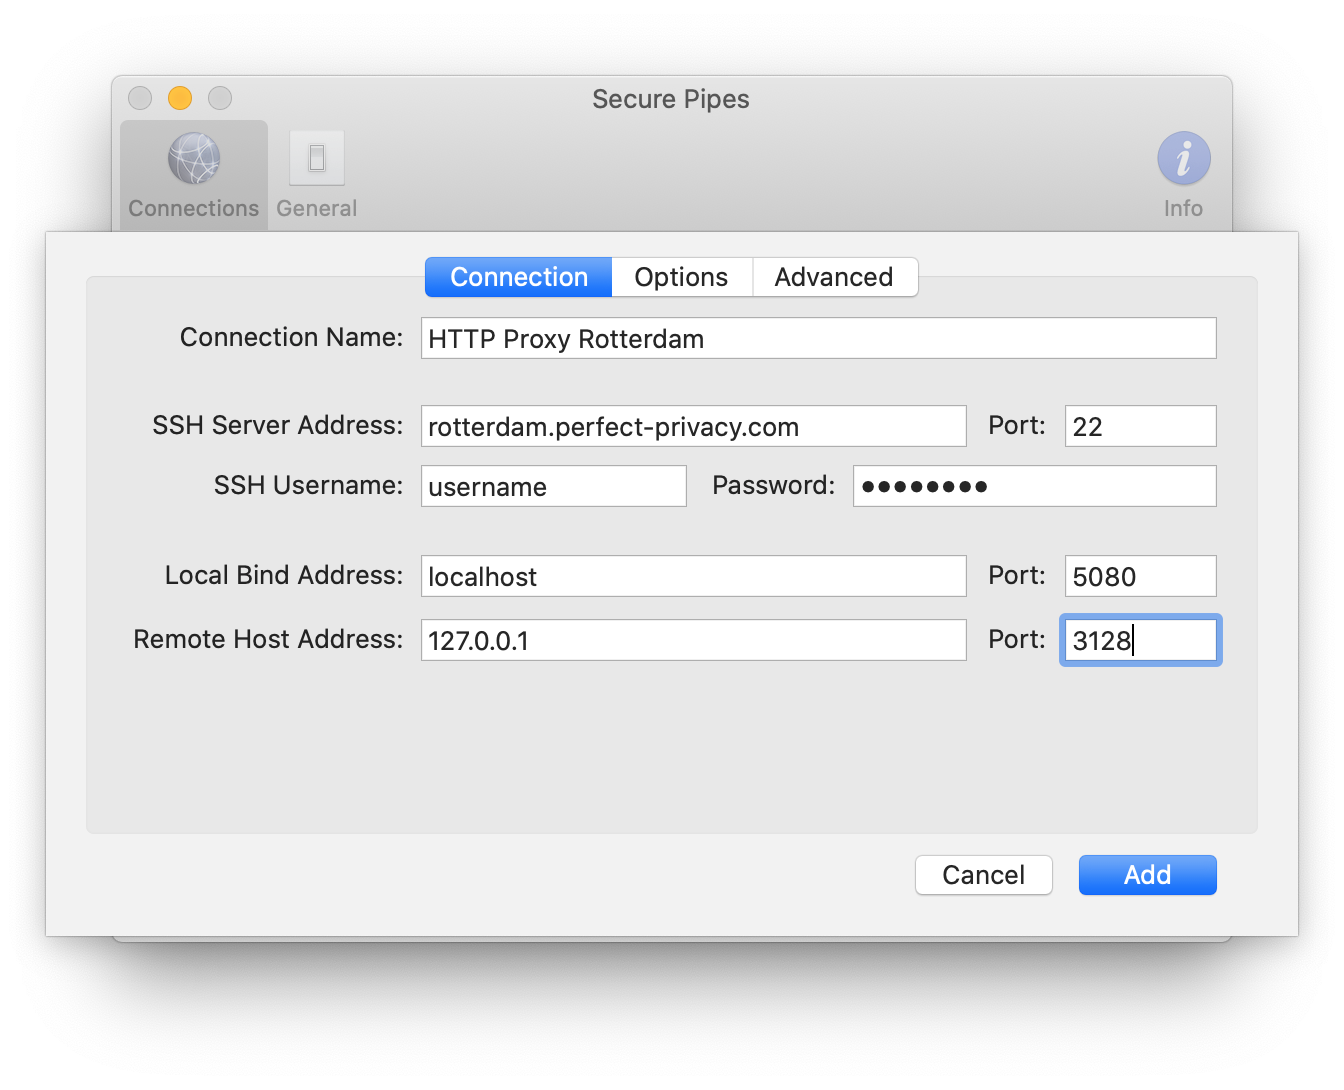
The most common use of SSH with Perfect Privacy is for encrypted HTTP proxies. Normally the connection to HTTP proxies is unencrypted, but with SSH this connection can be used encrypted. To create an encrypted SSH connection to an HTTP proxy on one of our VPN servers, in the Secure Pipes window click on the + symbol located in the lower left corner and choose New Local Forward.... Fill the fields in the Connection tab accordingly:
- Connection Name: A meaningful name, e.g. HTTP Proxy Rotterdam
- SSH Server Address / Port: DNS name/IP adress and SSH port of a VPN server, e.g.: rotterdam.perfect-privacy.com and 22
- SSH Username / Password: Your Perfect Privacy login credentials
- Local Bind Address / Port: localhost (alternatively a specific local IP address) and a free, useable port like e.g. 5080 (ports < 1024 require administrative privileges)
- Remote Host Address / Port: 127.0.0.1 (this means the connection to the proxy is made locally on the VPN server) and a valid proxy port like e.g.: 3128

Set up an encrypted SOCKS proxy
This tunnel is suitable for all programs that support SOCKS proxy servers. This is the case for many games, but also for some P2P file sharing programs. Normally the connection to SOCKS proxies is unencrypted, but with SSH this connection can be used encrypted. To create an encrypted SSH connection to a SOCKS proxy on one of our VPN servers, in the Secure Pipes window click on the + symbol located in the lower left corner and choose New Local Forward.... Fill the fields in the Connection tab accordingly:
- Connection Name: A meaningful name, e.g. SOCKS Proxy Rotterdam
- SSH Server Address / Port: DNS name/IP adress and SSH port of a VPN server, e.g.: rotterdam.perfect-privacy.com and 22
- SSH Username / Password: Your Perfect Privacy login credentials
- Local Bind Address / Port: localhost (alternatively a specific local IP address) and a free, useable port like e.g. 5081 (ports < 1024 require administrative privileges)
- Remote Host Address / Port: 127.0.0.1 (this means the connection to the proxy is made locally on the VPN server) and a valid proxy port like e.g.: 508

Set up an encrypted TOR proxy
This is a special redirect that allows you to use Tor through the Perfect Privacy servers. Please note that you should not use this method if you want to use Tor for security or anonymity reasons. In this case, we recommend using the Tor Browser Bundle..
This proxy connection only allows you to use Tor through the Perfect Privacy servers. Among other things, this allows you to call .onion addresses in a normal browser.
To create an encrypted SSH connection to a TOR proxy on one of our VPN servers, in the Secure Pipes window click on the + symbol located in the lower left corner and choose New Local Forward.... Fill the fields in the Connection tab accordingly:
- Connection Name: A meaningful name, e.g. TOR Proxy Rotterdam
- SSH Server Address / Port: DNS name/IP adress and SSH port of a VPN server, e.g.: rotterdam.perfect-privacy.com and 22
- SSH Username / Password: Your Perfect Privacy login credentials
- Local Bind Address / Port: localhost (alternatively a specific local IP address) and a free, useable port like e.g. 5083 (ports < 1024 require administrative privileges)
- Remote Host Address / Port: 127.0.0.1 (this means the connection to the proxy is made locally on the VPN server) and the TOR proxy port: 9050

Set up a general port forwarding
The use of SSH with Perfect Privacy is not limited to HTTP, SOCKS and Tor proxies. You can tunnel the connection to any other service through SSH and hide your IP address from service providers. In this example, we forward the connection to the (fictitious) SMTP server mail.example.com on port 25 through the SSH tunnel and make this service available locally on port 5082.
To create an encrypted SSH connection to one of our VPN servers to access a service running on a different server, in the Secure Pipes window click on the + symbol located in the lower left corner and choose New Local Forward.... Fill the fields in the Connection tab accordingly:
- Connection Name: A meaningful name, e.g. SSH Rotterdam - mail.example.com
- SSH Server Address / Port: DNS name/IP adress and SSH port of a VPN server, e.g.: rotterdam.perfect-privacy.com and 22
- SSH Username / Password: Your Perfect Privacy login credentials
- Local Bind Address / Port: localhost (alternatively a specific local IP address) and a free, useable port like e.g. 5082 (ports < 1024 require administrative privileges)
- Remote Host Address / Port: mail.example.com (the DNS name to which the VPN server should forward the connection) and the port of the service: 25


Questions?
If you have any questions, comments or other feedback regarding this tutorial, please use the corresponding thread in our community forums.