Installing OSMC
Before you get started, you will need a FAT32-formatted MicroSD card. We recommend using at least a 16 Gigabyte card.
If you need to format the card, you can use the SD Formatter for Windows and for macOS. On Linux you can use gparted or parted.
Download the OSMC Installer (available for Windows, macOS and Linux).
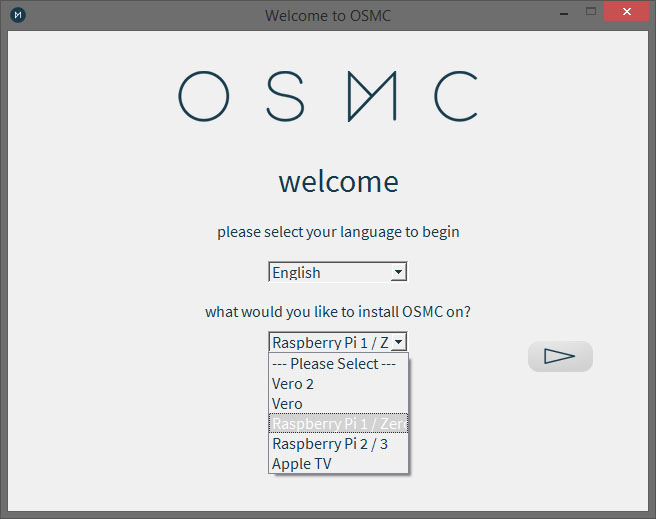
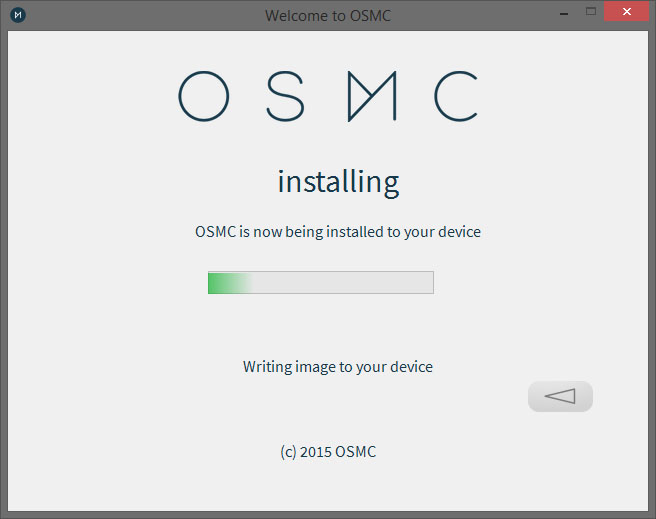
After the write process to the SD card has finished, you can unmount the card. Connect your Raspberry Pi to a screen and keyboard, insert the SD Card and connect the power supply to boot the device.
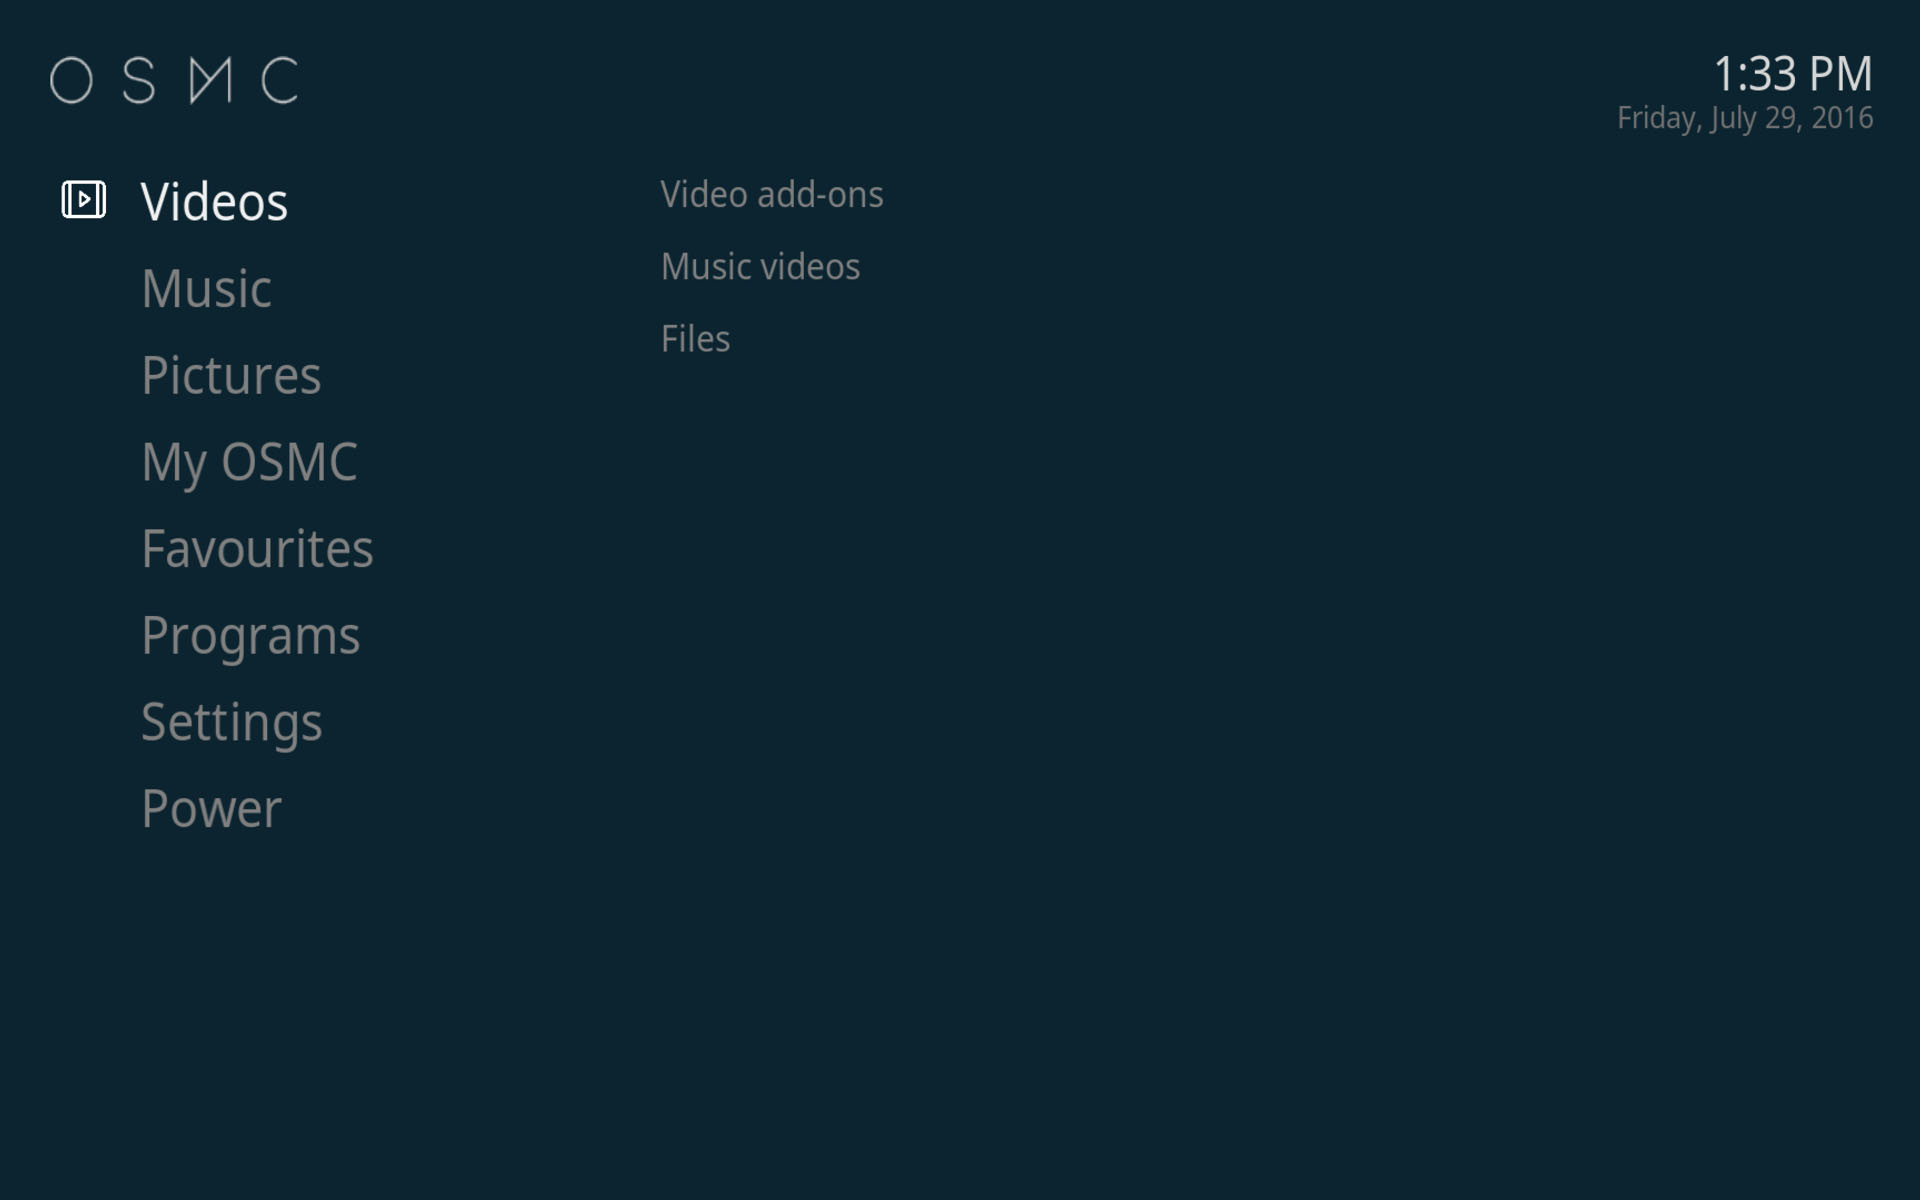
Now the base system will be installed, this will take a few minutes. Once finished you should see the OSMC main menu as displayed on the left.

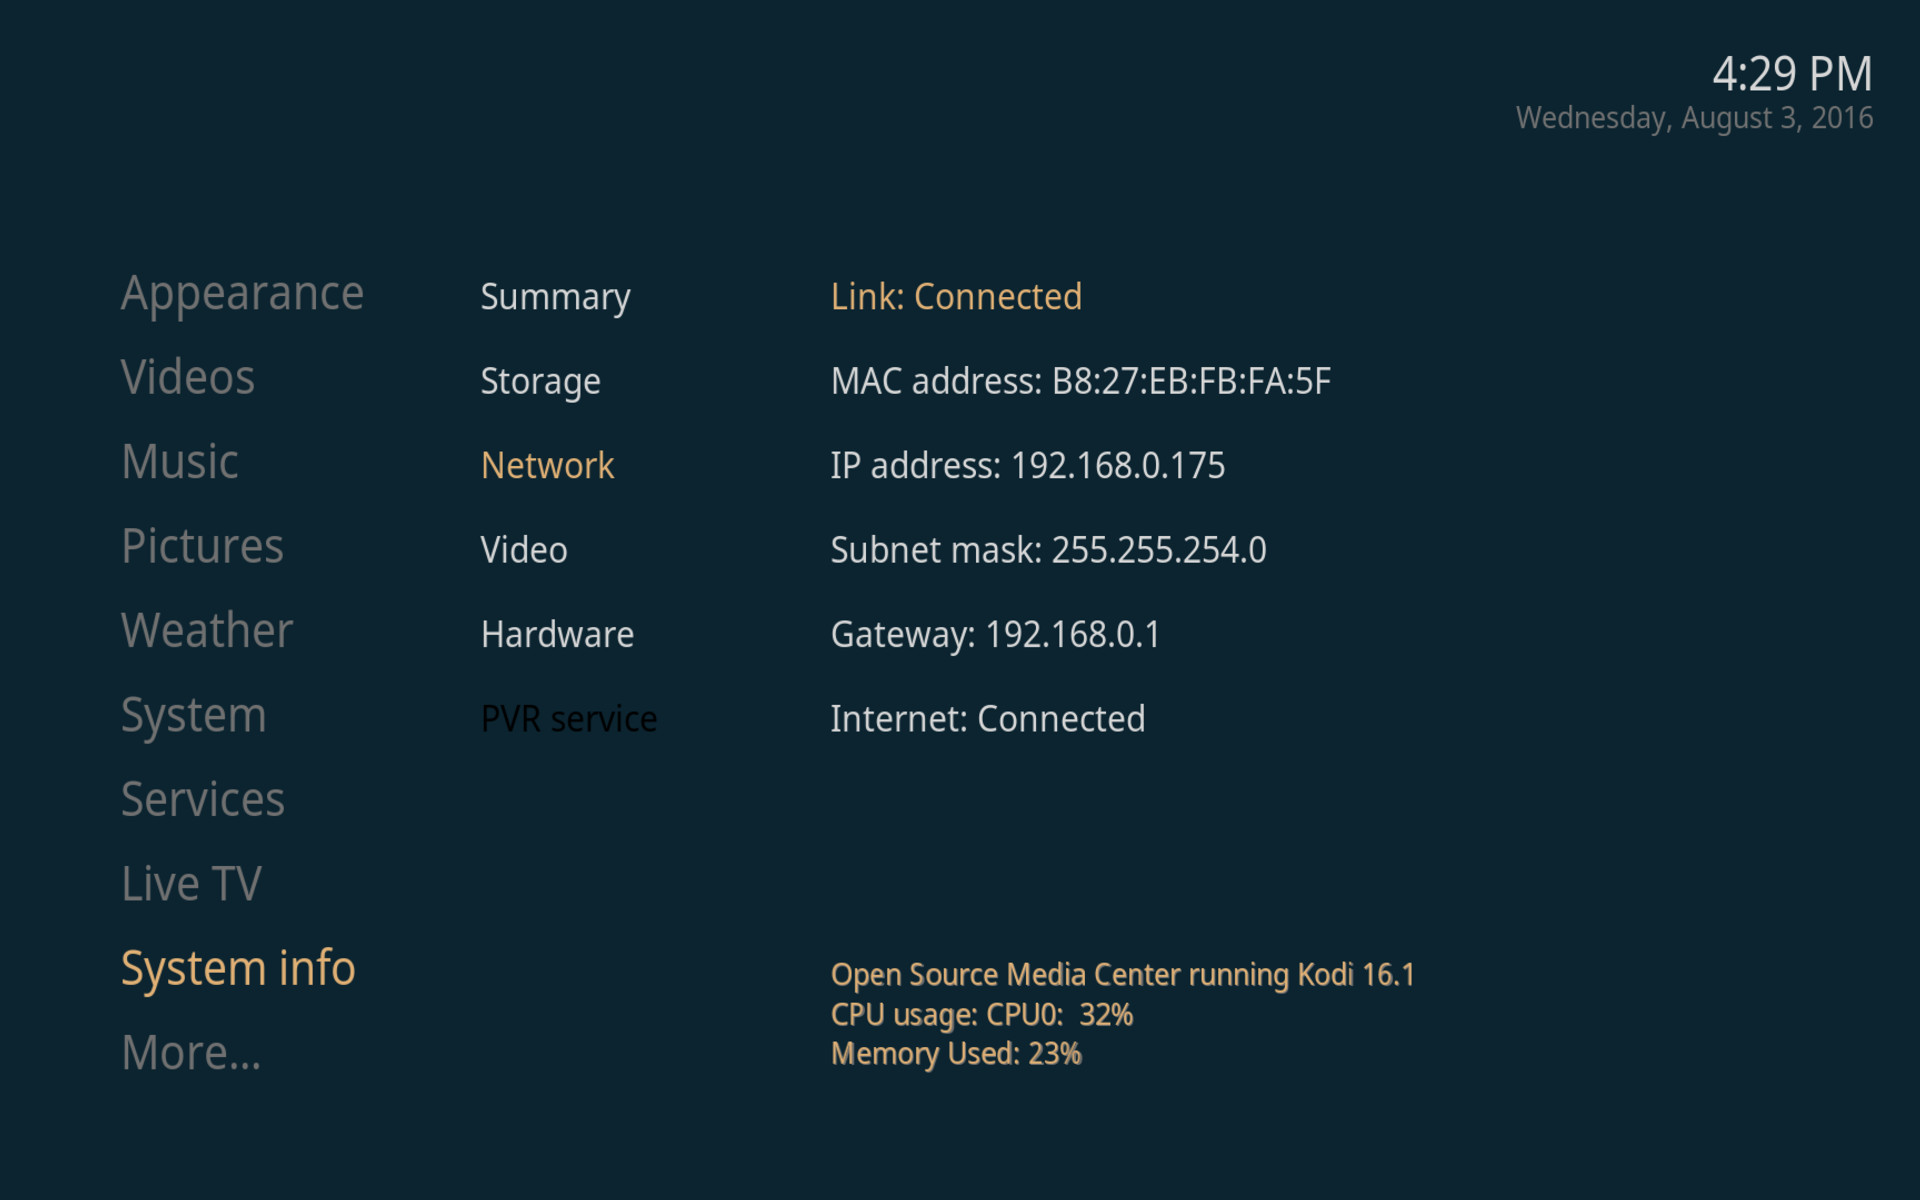
To find out the local IP address of the Raspberry Pi, go to System > System Info > Network.
Now you can log into your Raspberry Pi via SSH on port 22 using the IP shown in the system info.
The default user/password is osmc/osmc.On Windows, we recommend using PuTTY.
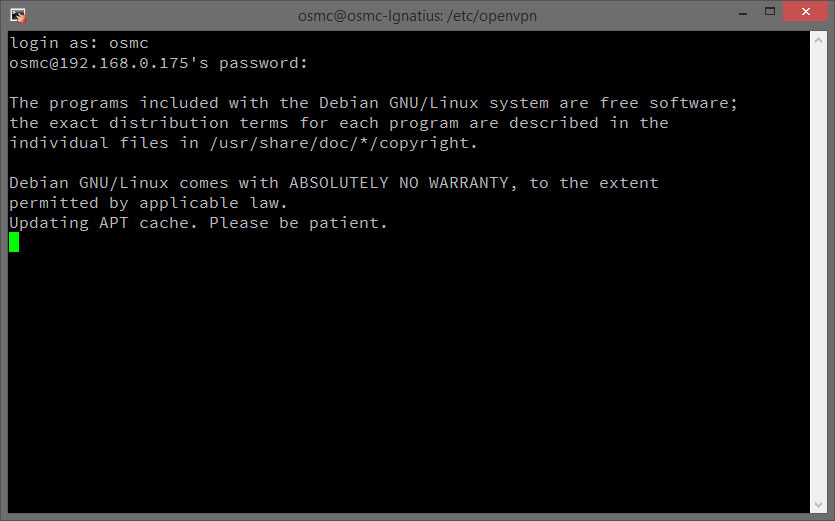
After the first ssh login, the APT cache will automatically update. Once done, type in the following command to install the PPTP client:
sudo apt-get install pptp-linux
When the installation is done, create a PPTP configuration for the server location you want to use. In this example we are creating a configuration for chicago.perfect-privacy.com by editing the following file:
sudo vi /etc/ppp/peers/chicago
Copy the following content into the editor. You will need to change $USERNAME and $PASSWORD for your Perfect Privacy username and password.
pty "pptp chicago.perfect-privacy.com --nolaunchpppd --debug" name $USERNAME password $PASSWORD remotename PPTP require-mppe-128 require-mschap-v2 refuse-eap refuse-pap refuse-chap refuse-mschap noauth debug persist maxfail 0 defaultroute replacedefaultroute usepeerdns 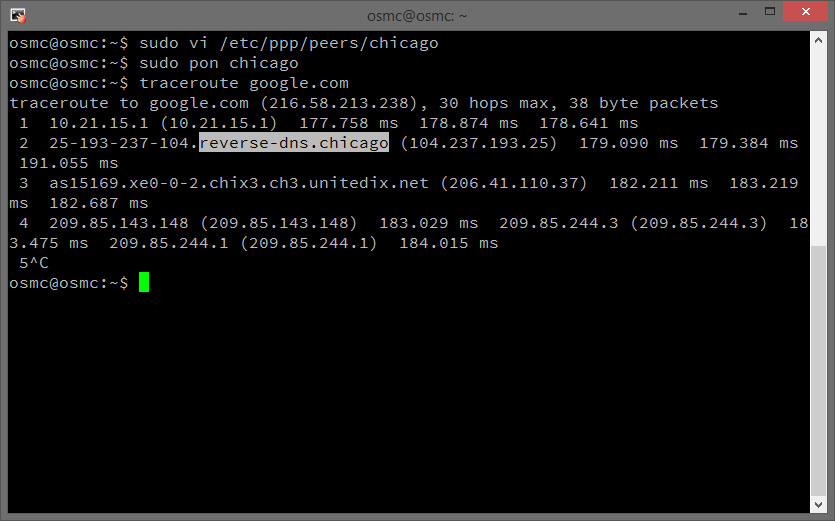
Now start the connection by typing:
sudo pon chicago
You can traceroute google.com (or any other host) to make sure that your traffic is actually routed over Chicago.
traceroute google.com
To automatically connect to the PPTP VPN after startup, create an init.d script as shown below. You can give it any name, in this case we call it “pptpvpn“.
sudo vi /etc/init.d/pptpvpn
 #! /bin/sh
case "$1" in
 start)
   pon chicago
   echo "PPTP Started"
 ;;
 stop)
   poff chicago
   echo "PPTP Stopped."
 ;;
 *)
   echo "Usage: /etc/init.d/blah {start|stop}"
   exit 1
 ;;
esac exit 0
To start the VPN client on boot, issue the following commands:
sudo chmod +x /etc/init.d/pptpvpn
sudo update-rc.d pptpvpn defaults

Reboot your device, the configuration is now finished. Now you can add video streams.
In the main menu, go to Videos > Video add-ons > Get more…
There are hundreds of preconfigured streams available, you can also add more later. Simply select the stream you want to install by pressing enter.


When you now select the newly activated video add-on, you will see different options depending on the kind of stream. In the case of TED Talks, you can for instance choose among the most popular streams or just play the newest one.
You can add as many video add-ons as you want.


Questions?
If you have any questions, comments or other feedback regarding this tutorial, please use the corresponding thread in our community forums.