NOTE: This manual explains how to set up Always-On on your iPad or iPhone to get a permanent enforced VPN connection. To use this functionality, the device must be set to supervised mode. This process will reset the device to default settings. Before switching to supervised mode it is strongly recommended to make a backup of your iPad or iPhone.
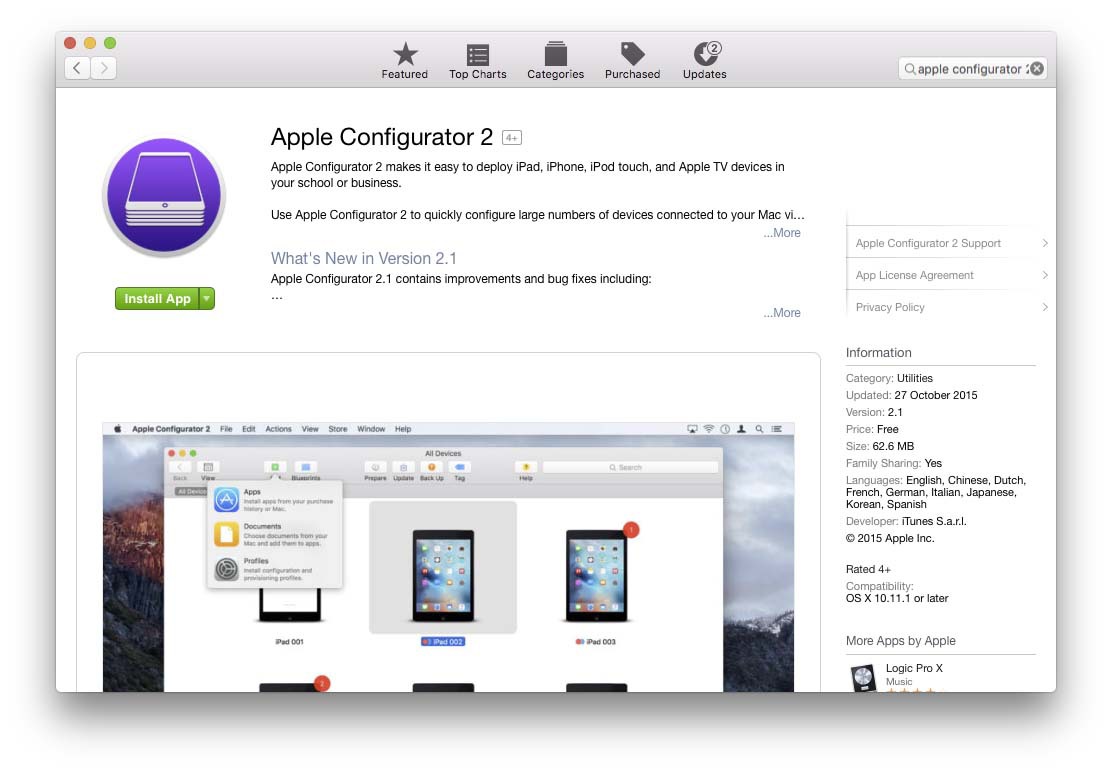
Furthermore you will need a computer with macOS installed to run the Apple Configurator, which is necessary to switch the iPad/iPhone into supervised mode.
Always-ON VPN only works with iOS 8.0 or higher.
Tip: If you don’t want to set your device to supervised mode, you can also use On-Demand VPN which provides a similar functionality.
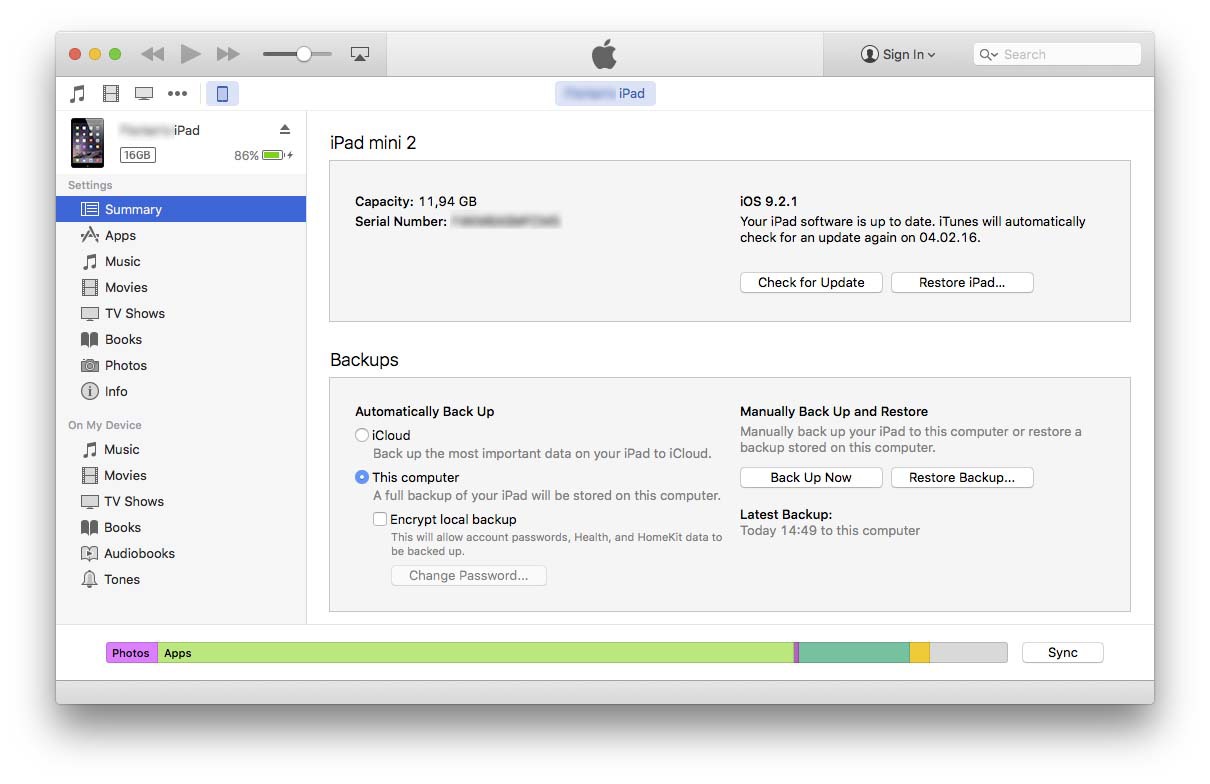
Before continuing, backup your device first in case anything goes wrong or you want to revert the changes later. To do so, connect your device to your macOS computer, go into iTunes and choose Back up Now under the Summary of the device you want to back up.
Also check Encrypt local backup if you want to also backup account passwords etc.
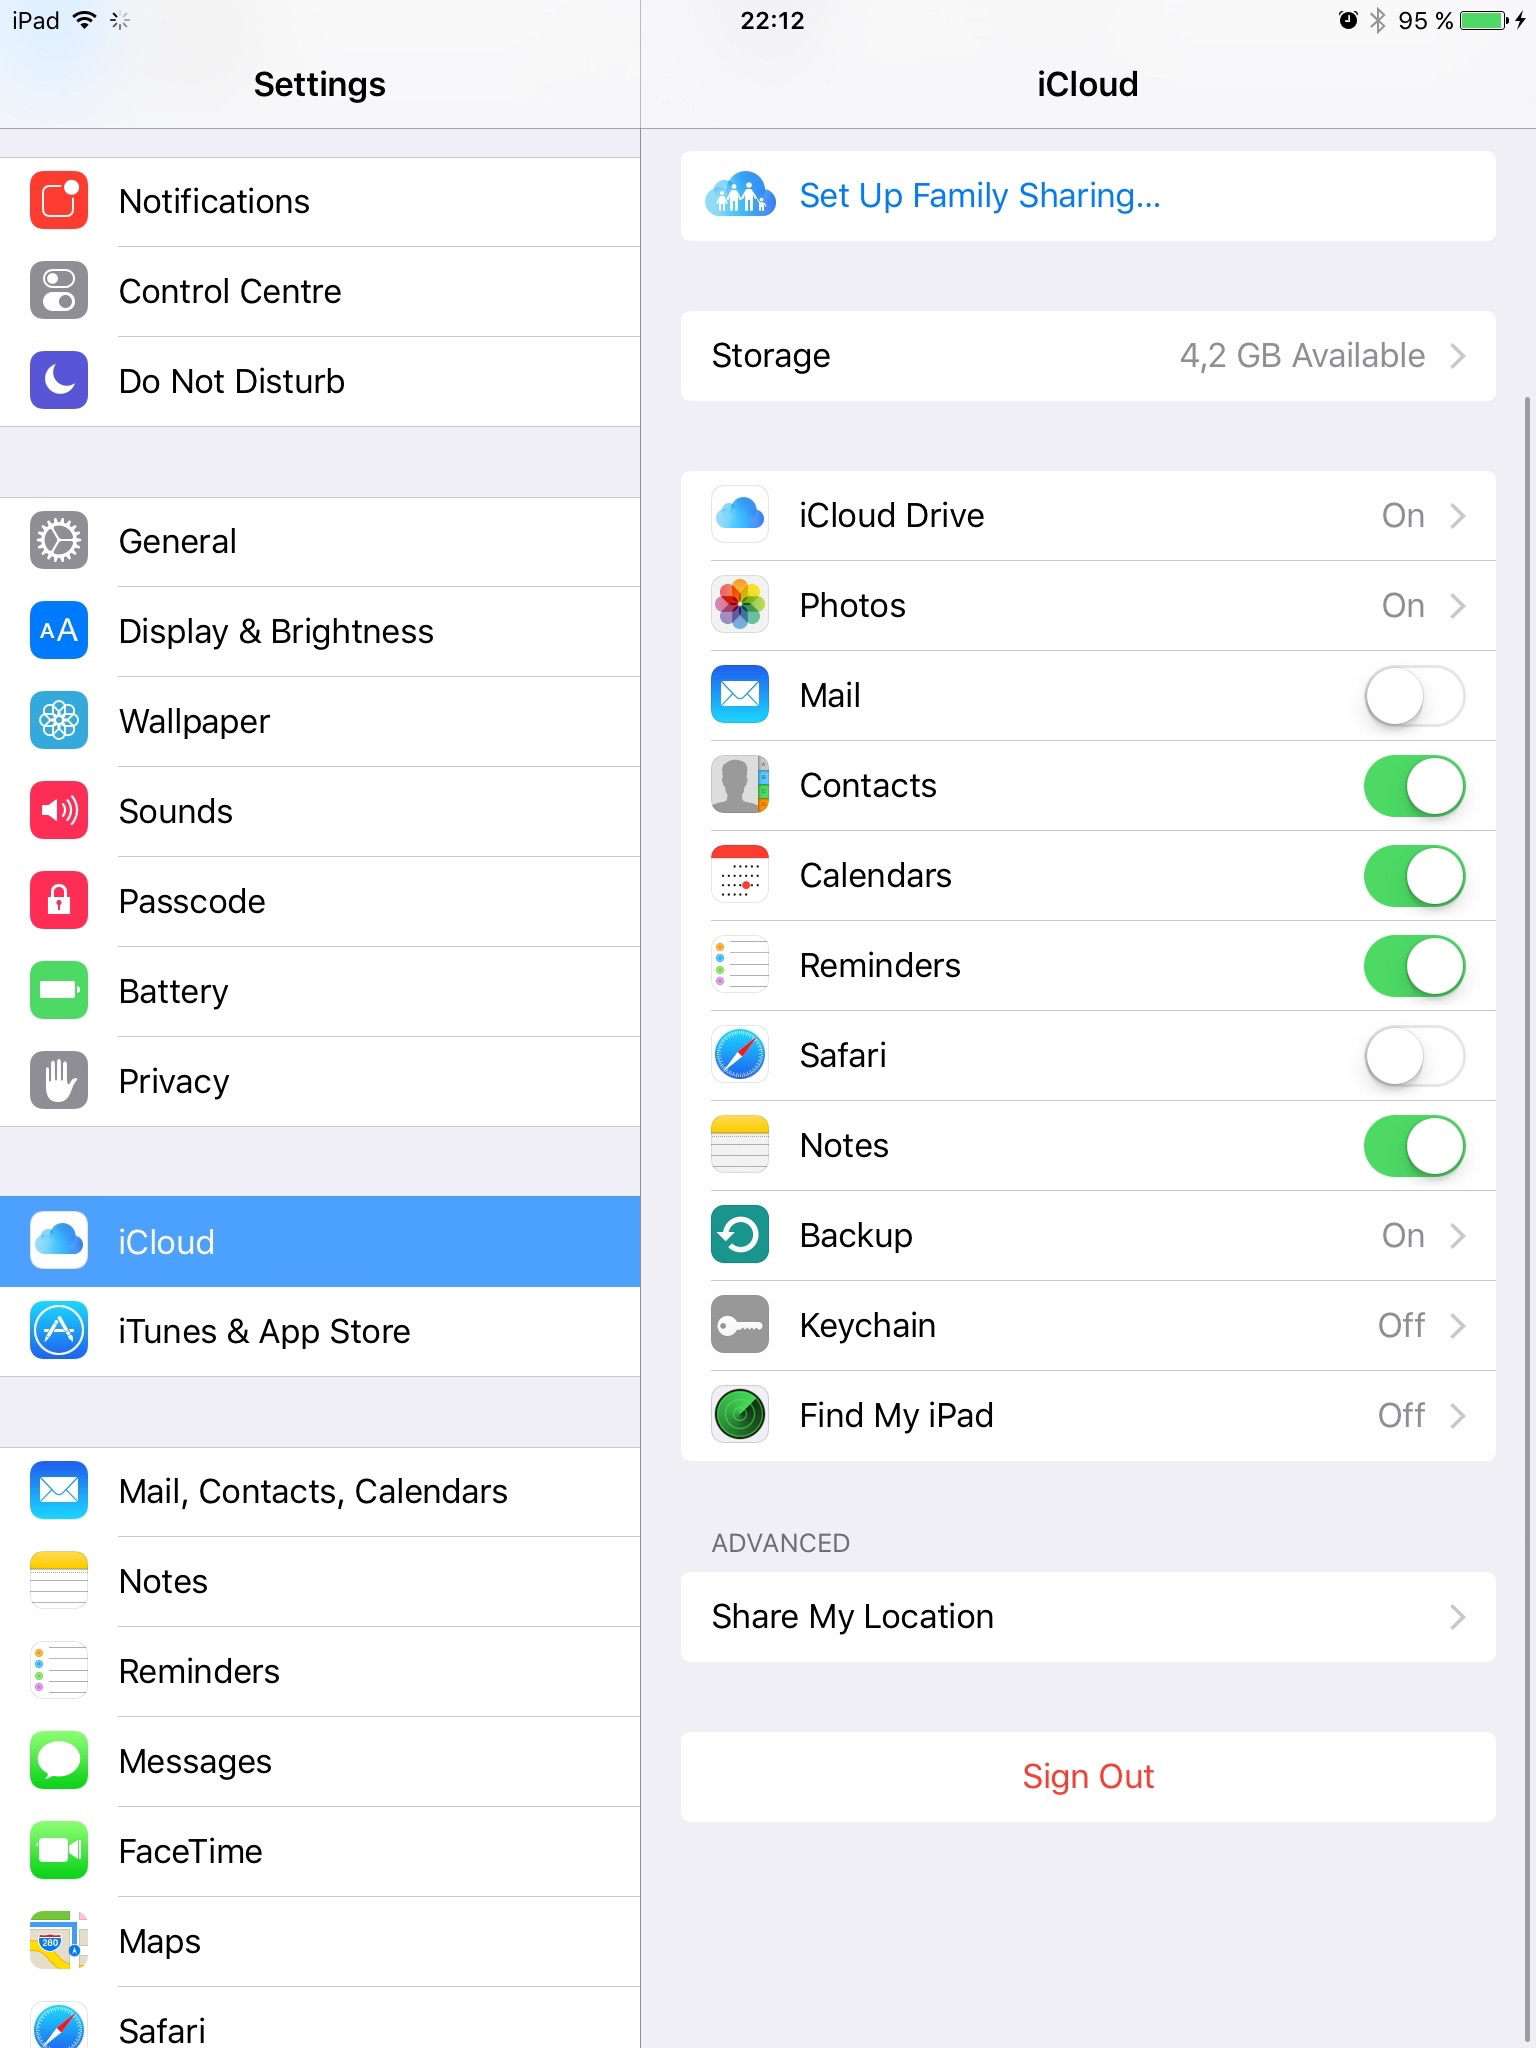
Should you use iCloud, deactivate Find my iPad (or iPhone) in your device settings, because you cannot go into supervised mode when this option is activated.
To do so, go in your iPad or iPhone settings, tap on iCloud and Find my iPhone/iPad and disable it.
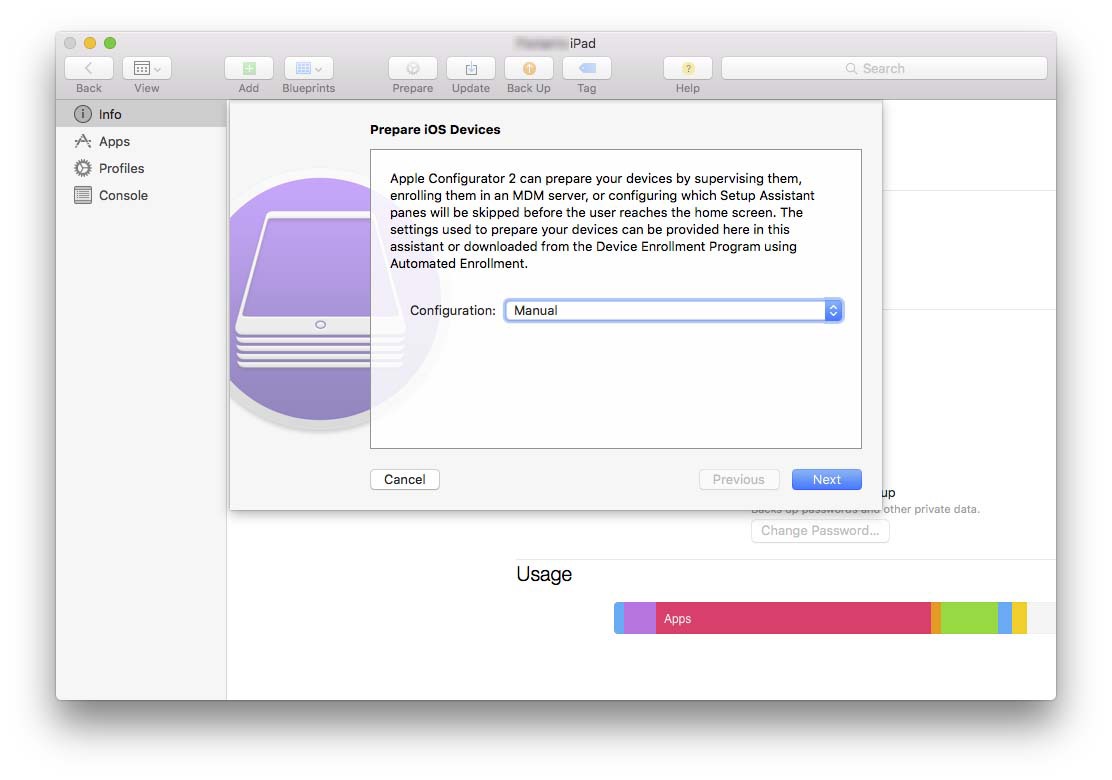
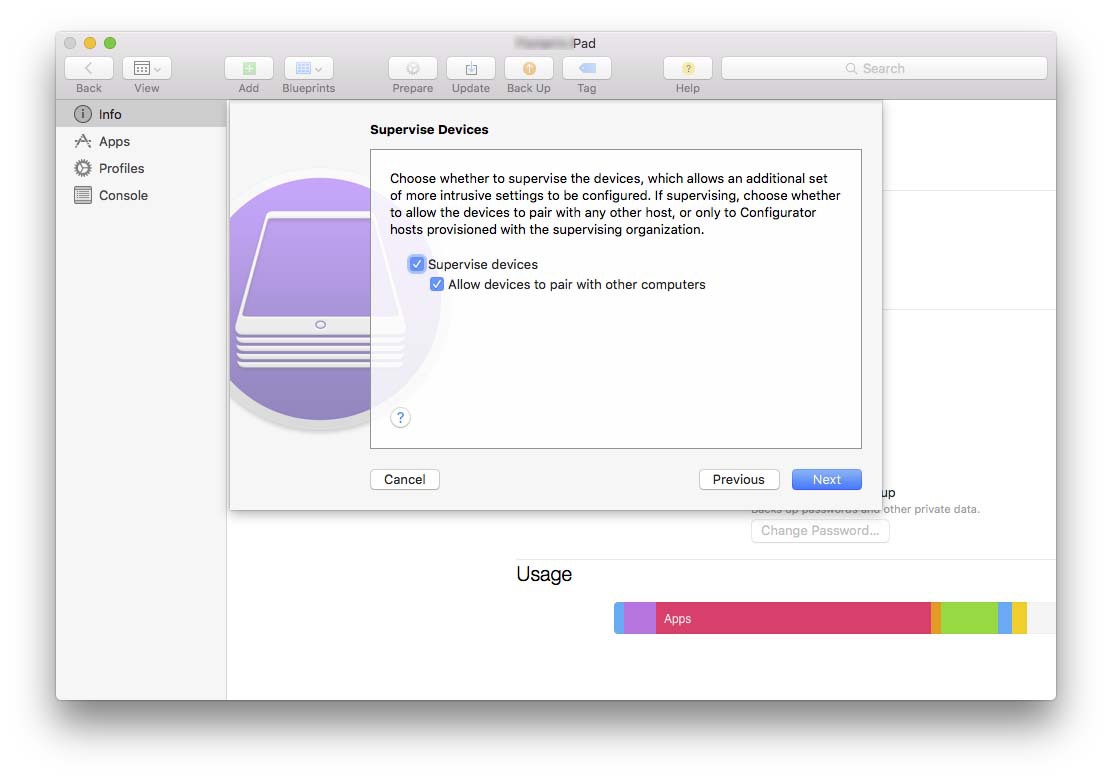

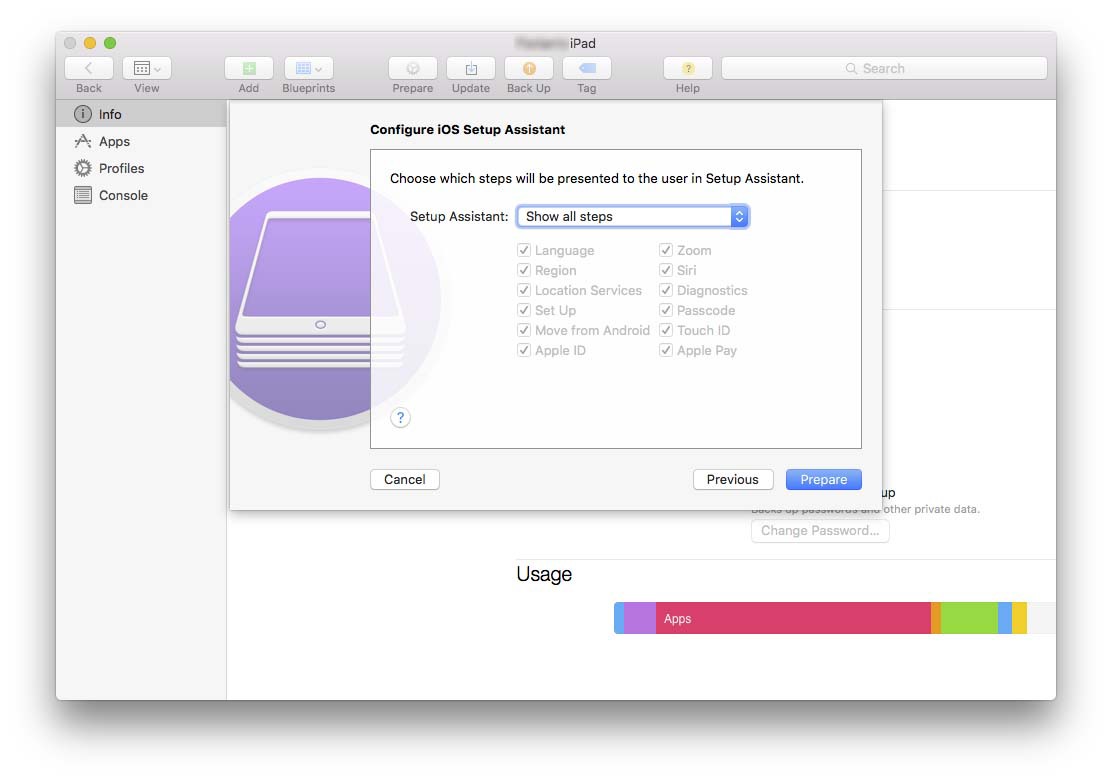
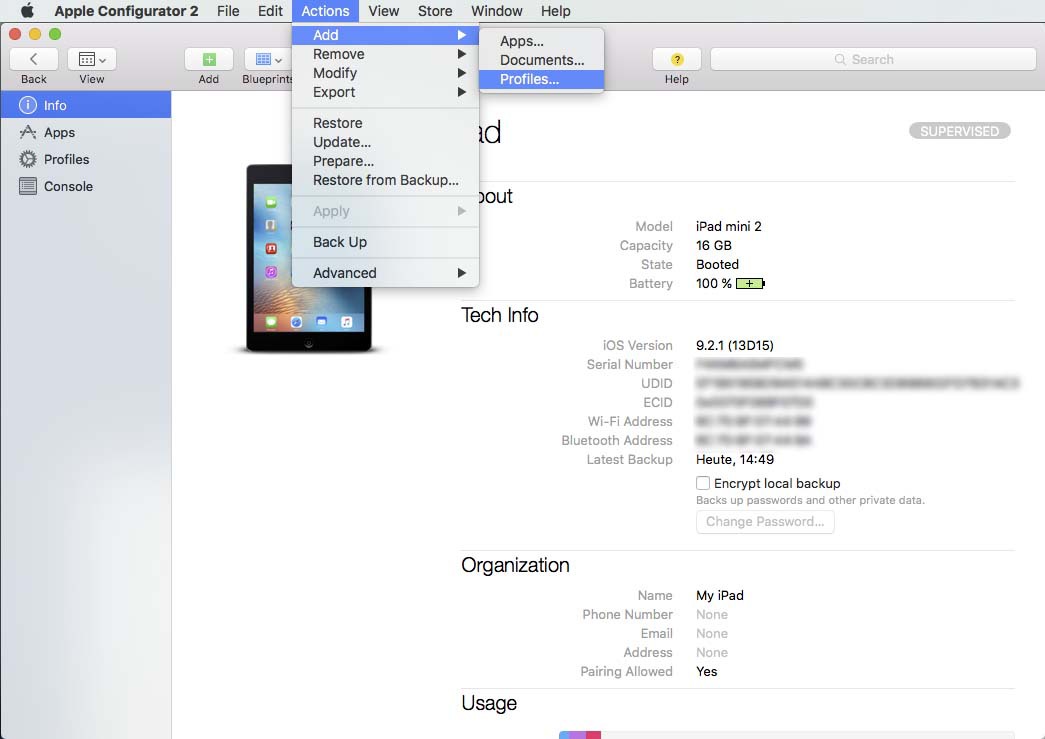
In the Create an Organization dialogue choose Generate a new supervision identity and click Next. Finally leave the Setup Assistant to Show all Steps and click on Prepare.Your iPad or iPhone is now being reset.
This process can take a while.
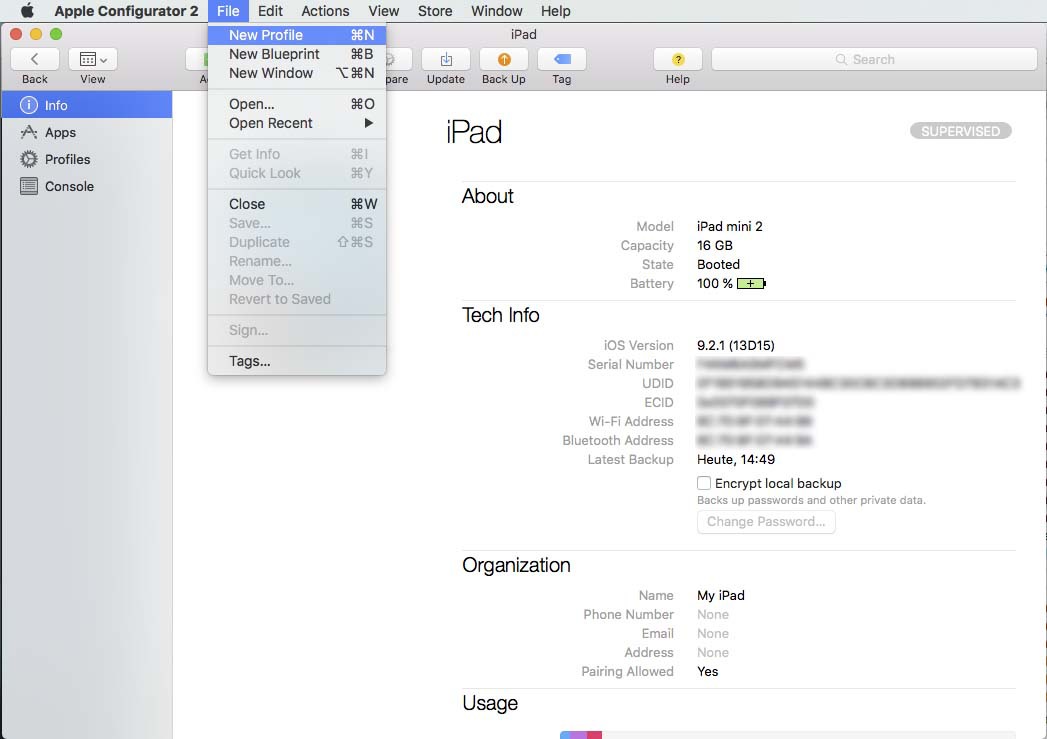

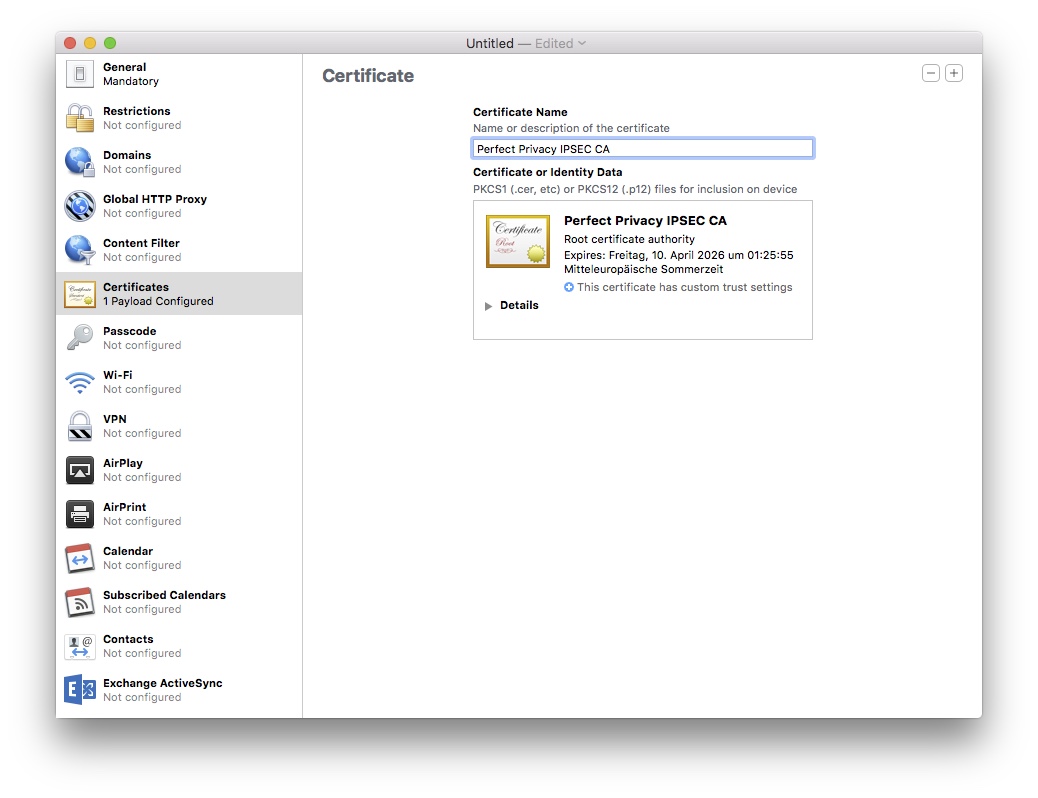
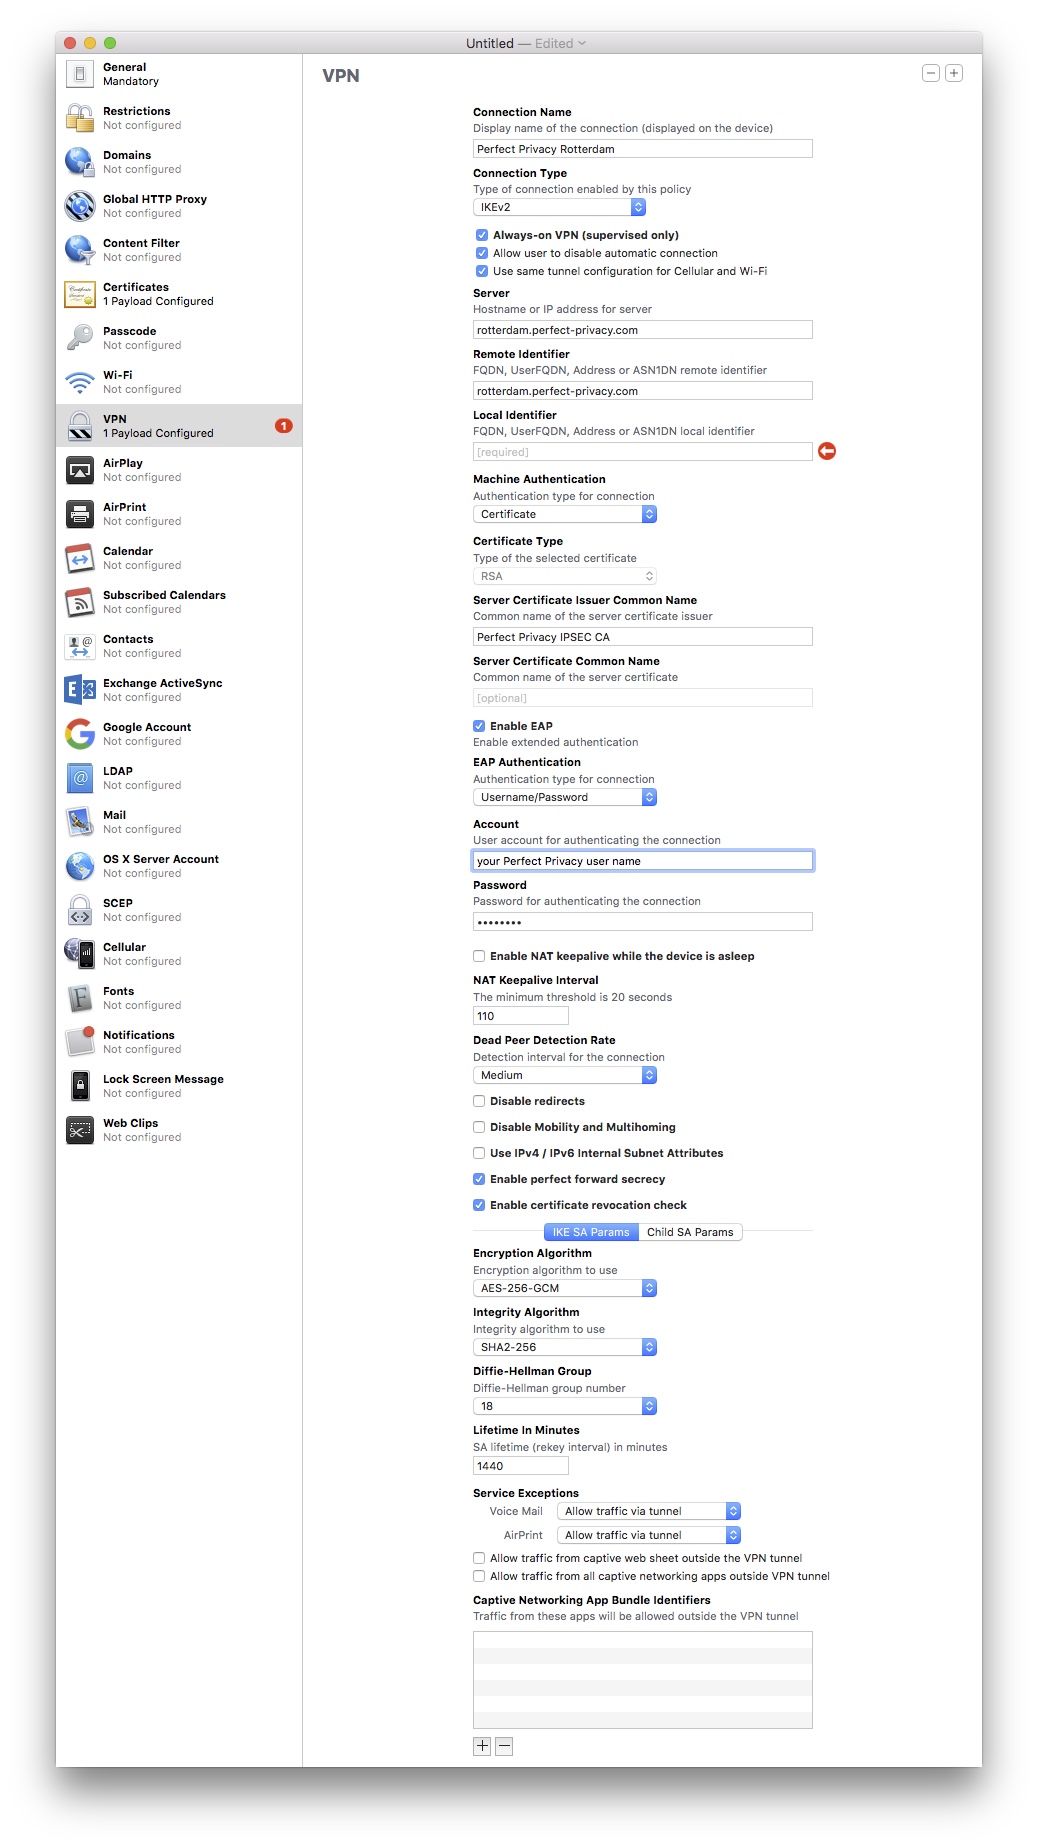
Go to the VPN section on the left and click Configure.
Use the information shown in the screenshot on the left. For Account/Password enter your Perfect Privacy user credentials. If you leave Local Identifier empty, you will receive a warning that the profile is incomplete. However, you can safely ignore this warning. Alternatively you can copy the content from Remote Identifier into the Local Identifier field.
Then save the profile (File menu > Save). Now you can close the settings window.
Since your device was reset you will now need to do the initial setup of your iPad or iPhone again.
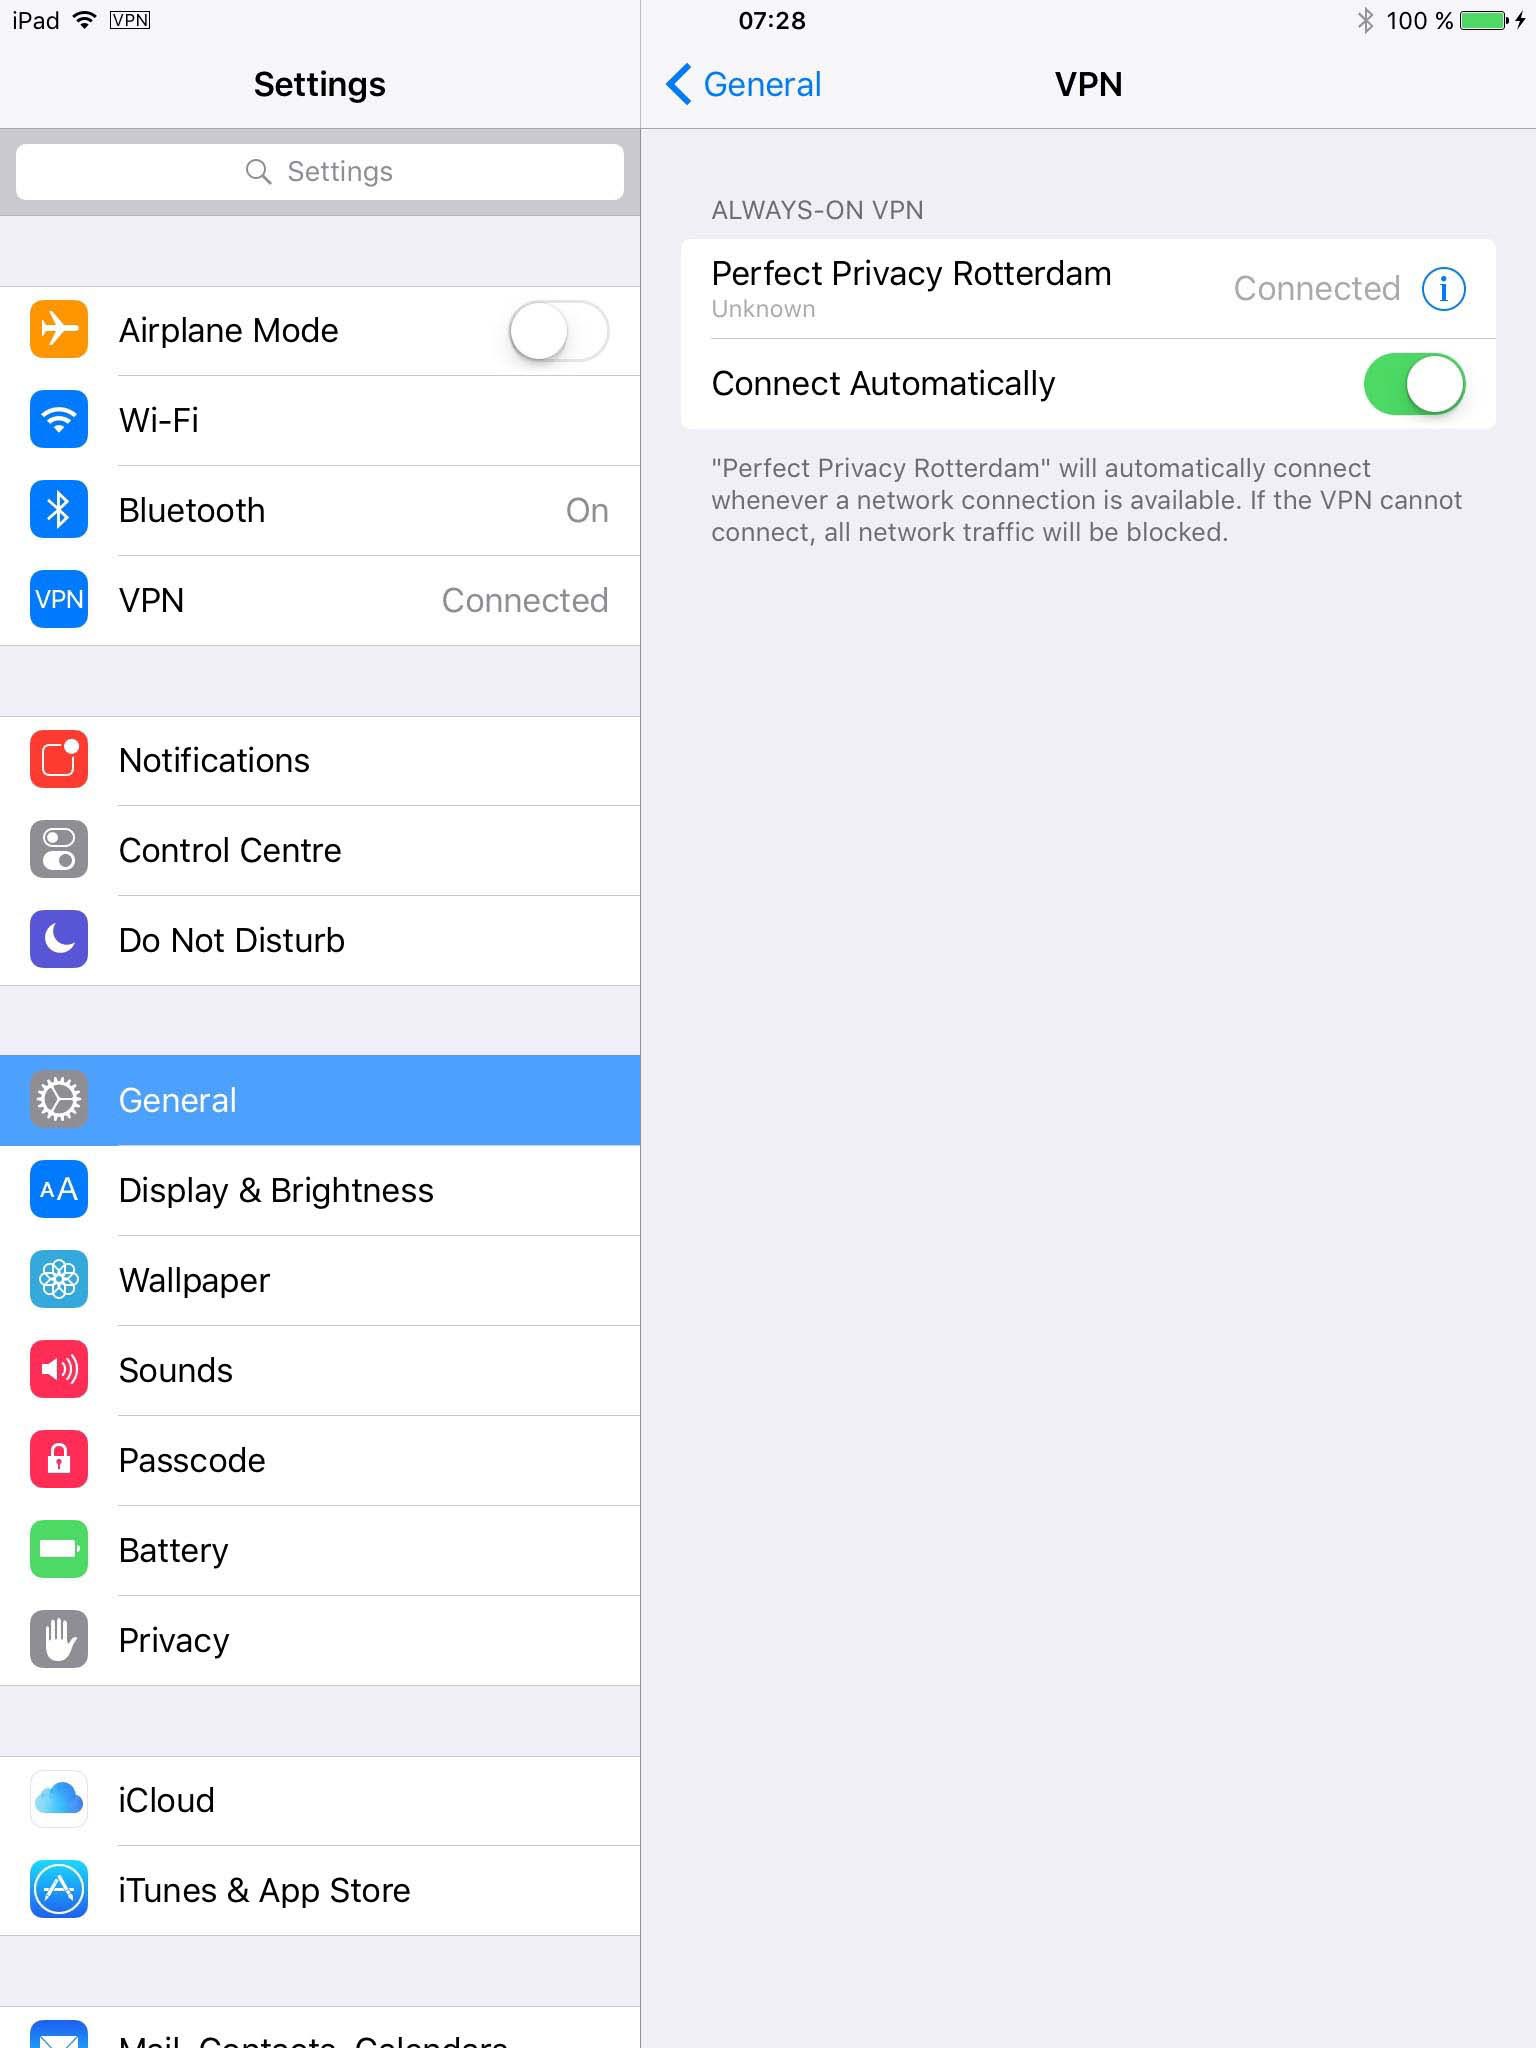
Always-On VPN should now be functioning. A VPN symbol should appear in the top left whenever you have internet connection.


Questions?
If you have any questions, comments or other feedback regarding this tutorial, please use the corresponding thread in our community forums.