Download VPN profiles for Tunnelblick
Download the Perfect Privacy configuration files for Tunnelblick. Then, unpack the zip file (Safari does that automatically).
Download View alternate downloads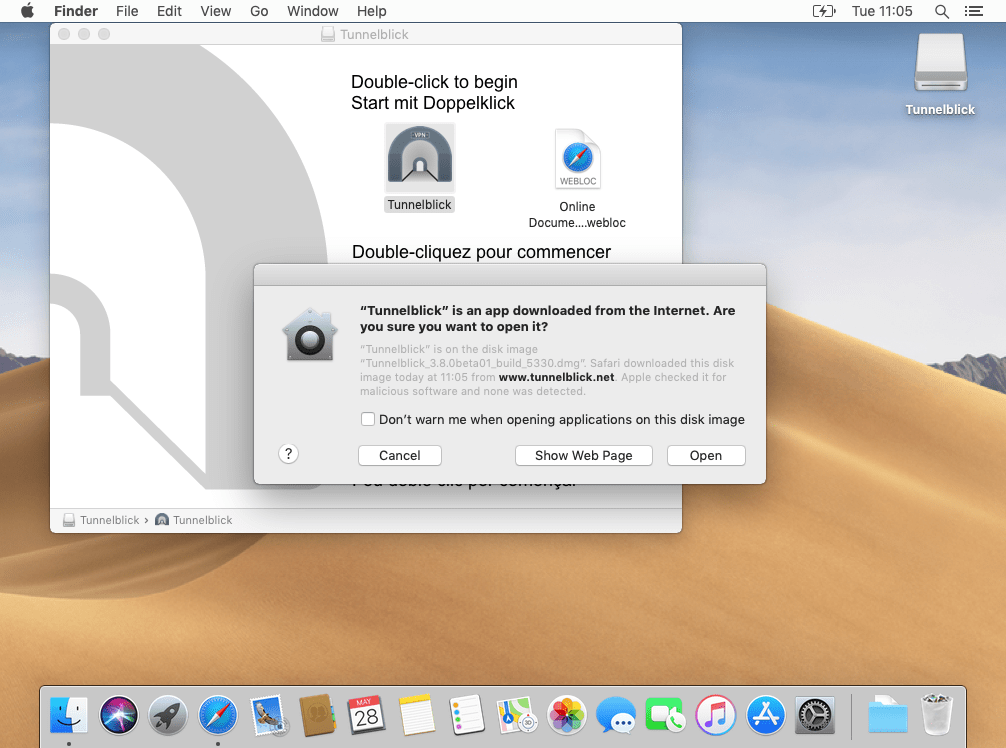
Install Tunnelblick
To install Tunnelblick, open the downloaded DMG file and double-click the Tunnelblick icon. Confirm the warning.

In the first window with the title Welcome to Tunnelblick you should confirm that Tunnelblick automatically checks for program updates.
If necessary, you can also leave the monitoring of the public IP address enabled. Note that Tunnelblick servers are used for checking, not Perfect Privacy servers.
After clicking Continue, you must confirm the installation with your system password.
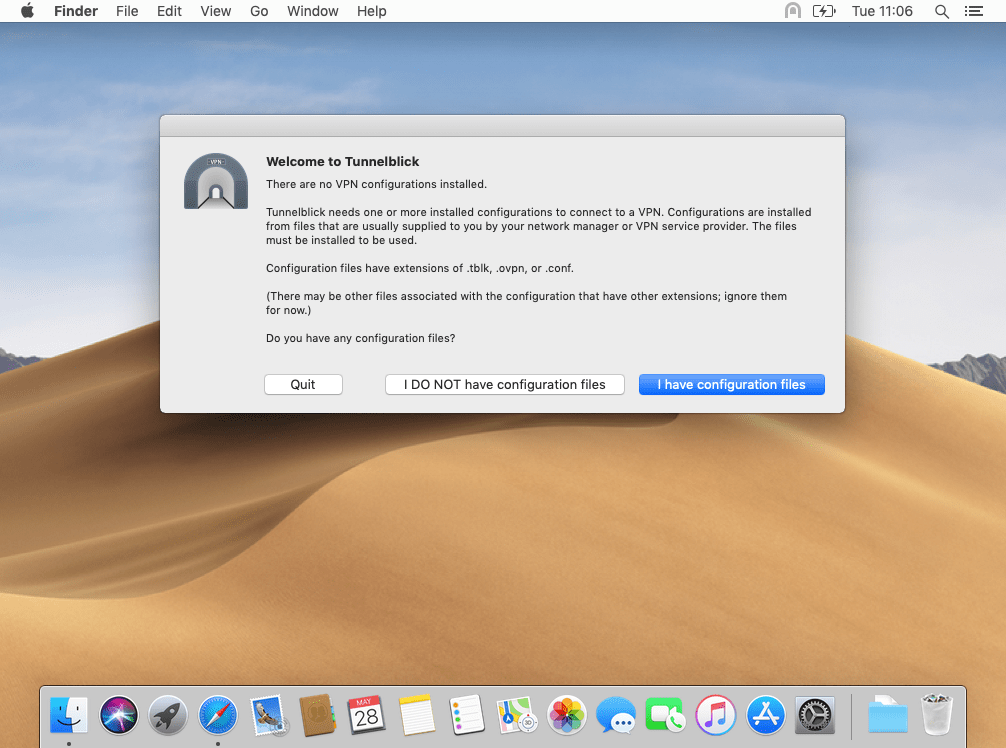
In the second window with the heading Welcome to Tunnelblick select the option I have configuration files.
Tunnelblick is now installed.
Import your first OpenVPN profile
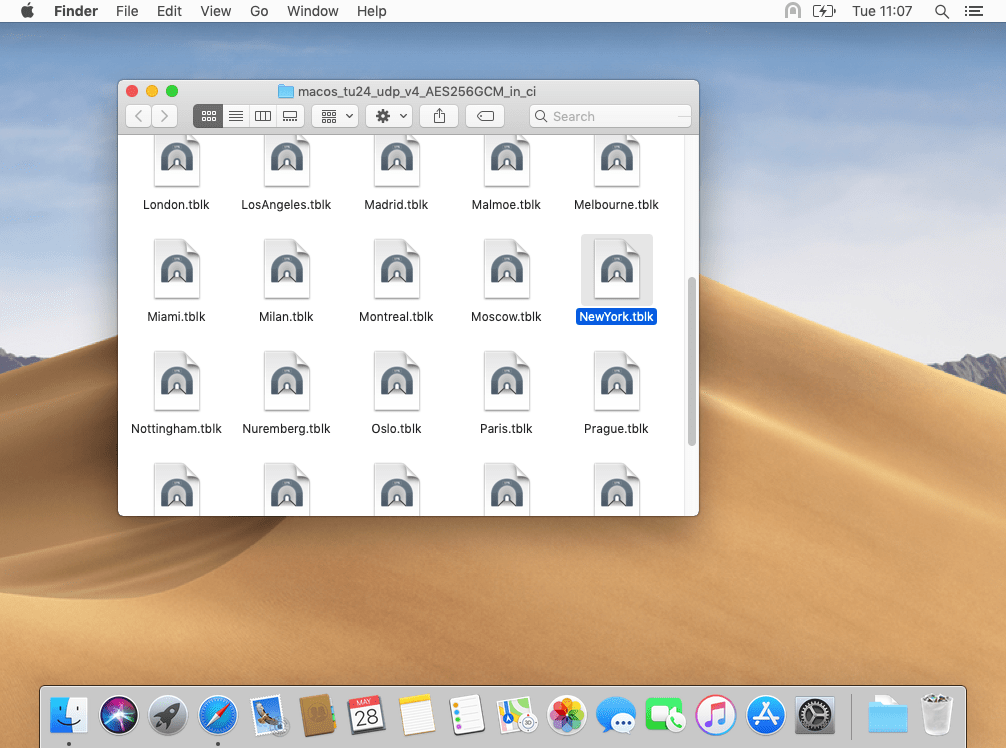
Now open the folder with the downloaded OpenVPN profiles.
To import it into Tunnelblick, double-click the desired profile.
Our tip: Choose a location that is geographically as close as possible to achieve the best speed.

Now you can decide whether the profile should be available only for you or for all users of the computer.
You must confirm the import with your system password.

Enable IPv6 (optional)
By default, IPv6 is disabled for the VPN. If you want to use IPv6, open the Tunnelblick settings.
To do this, click on the Tunnelblick icon in the icon bar at the top right and click on the VPN Details... menu item.
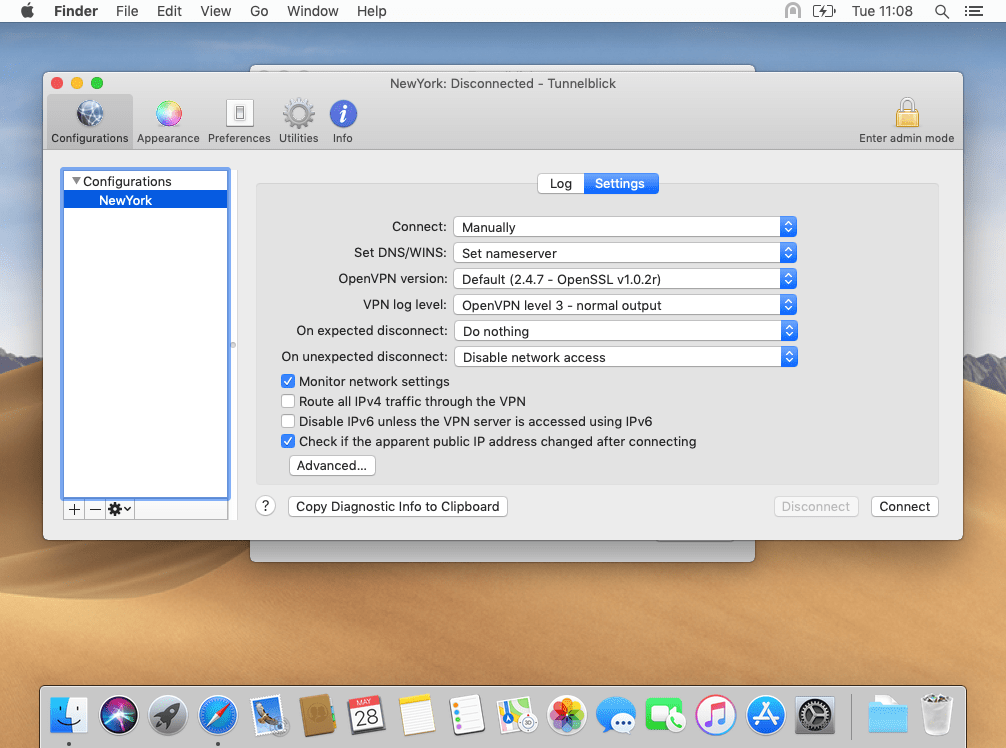
In this window, select the currently imported profile on the left, switch to the Settings tab and uncheck Disable IPv6 unless the VPN server is accessed using IPv6.
Activate kill switch (optional)
If you do not want your network data to be transmitted unprotected to the Internet after the VPN connection has been interrupted, you can make the following settings:
First select the option On unexpected disconnect: Disable network access.
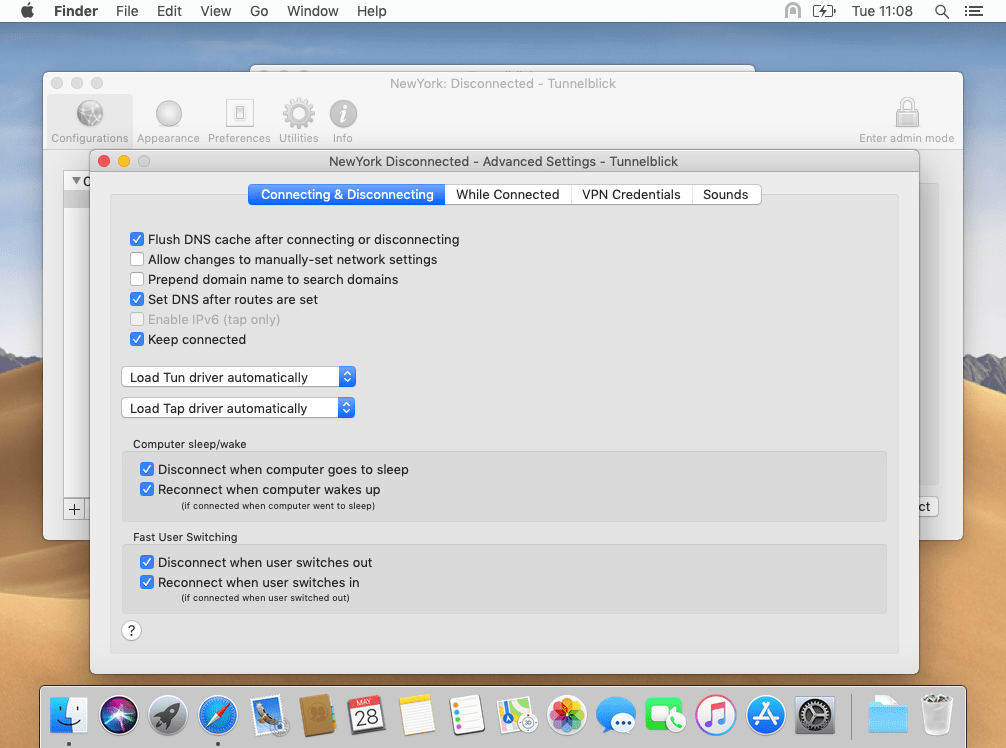
To automatically re-establish the connection after an unexpected disconnection, click on Advanced... and activate the checkbox Keep connected.
Import multiple profiles (optional)
It is recommended to import more than one VPN profile into Tunnelblick in order to have a small selection if necessary. To do this, repeat the steps above.
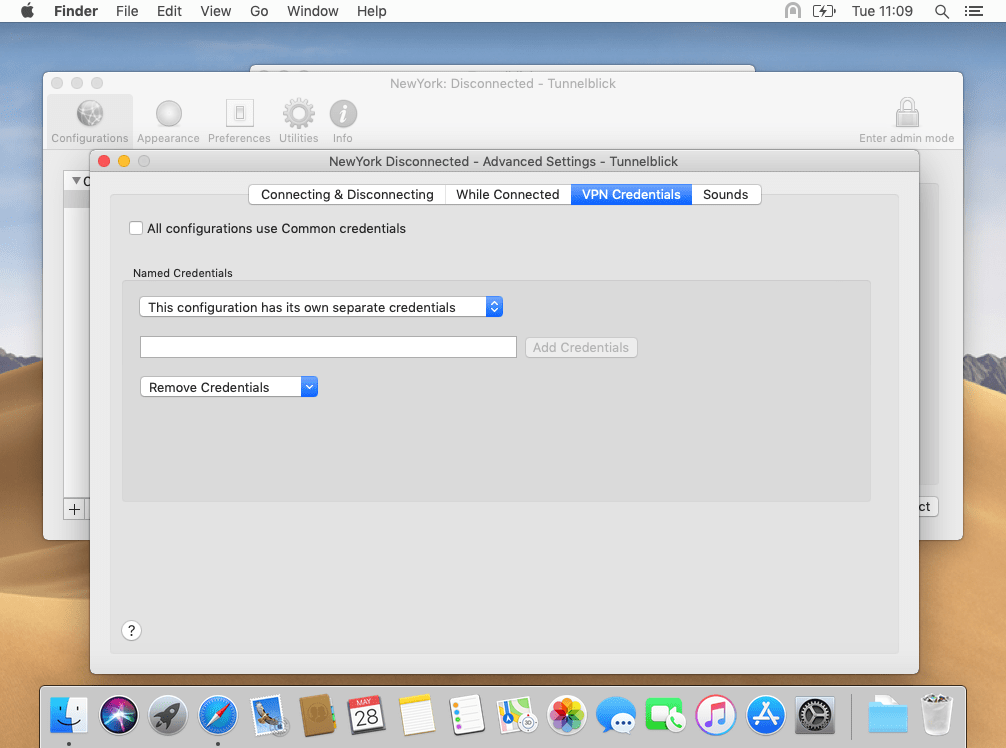
You can use the same credentials for multiple VPN profiles. So you only need to enter your credentials once. Click on Advanced... in the profile settings and switch to the VPN Credentials tab.
If you only use Perfect-Privacy configurations in Tunnelblick, activate the option All configurations use Common credentials.
If you use several VPN configurations with different login credentials instead, this option is not suitable. Create so-called Named Credentials instead. Enter a name in the text field (e.g. Perfect Privacy) and click Add credentials. In the list above, select the option This configuration uses Perfect Privacy credentials.
The next time the connection is established, you will be asked for the shared access data, which should be saved in the keychain.
Establish VPN connection
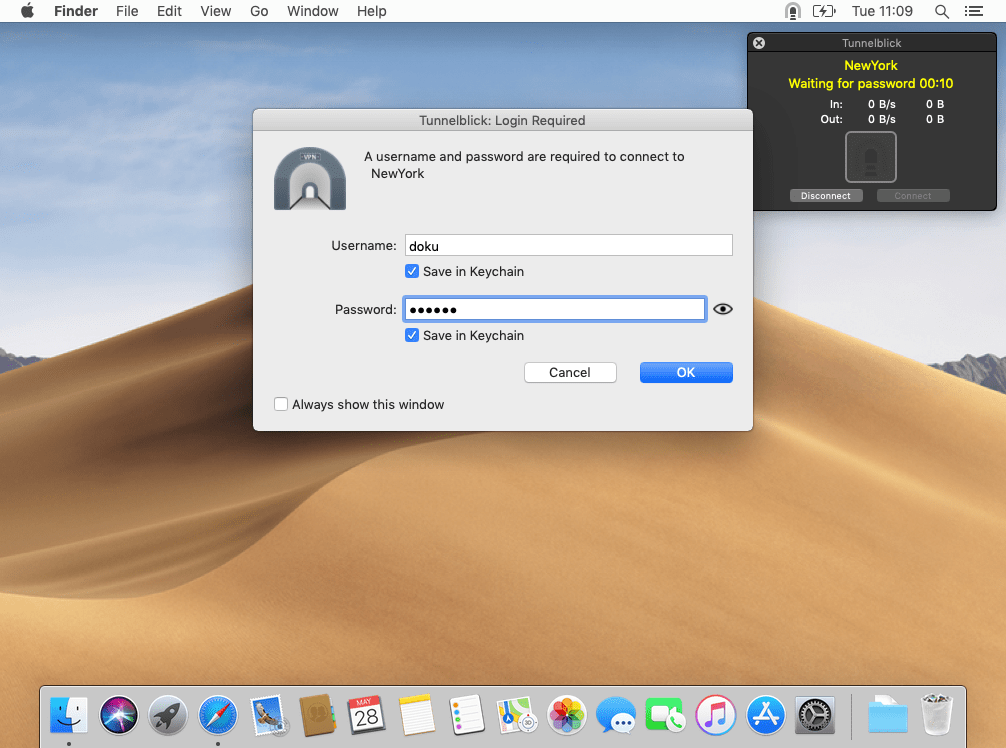
To establish the VPN connection, click on the Tunnelblick icon in the symbol bar at the top right. Select the desired VPN profile from the menu.
Now you will be asked for your login credentials. Enter your Perfect Privacy credentials and activate the two options Save in Keychain to avoid having to re-enter your credentials in the future. Confirm with OK.
After a few seconds the VPN connection is established. You can recognize this by the Tunnelblick icon in the toolbar.
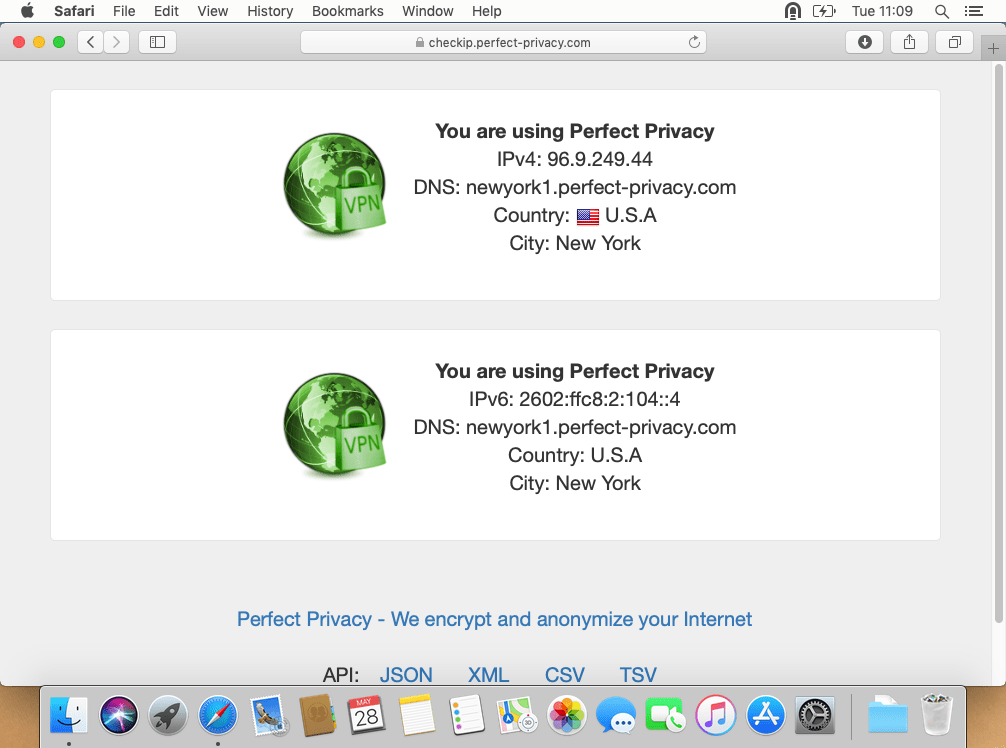
Check VPN connection
You can verify that the VPN connection is working correctly by visiting our Check-IP page.


Questions?
If you have any questions, comments or other feedback regarding this tutorial, please use the corresponding thread in our community forums.